Well, it is almost Friday, ok to be technical in 30 minutes, but close enough. So, I thought I would share for our Furniture Friday Flip. She (for some reason houses and furniture are always a woman in my brain, haha) started out as a lovely faux white wood that was beautifully enhanced with touches of gold.
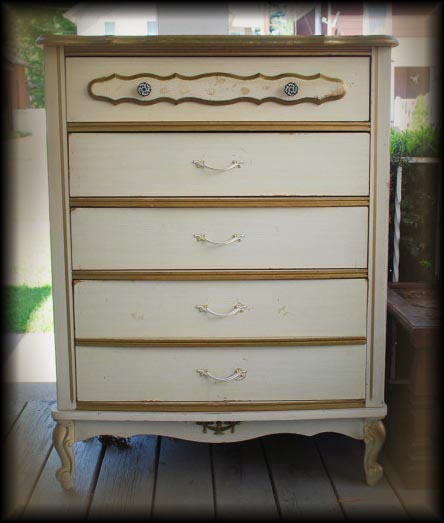
This is a perfect example of a piece which really benefits from chalk paint! If you read our last furniture post (if not, here it is) you will remember one of the great advantages about chalk paint is NO PRIMING OR SANDING! Can I get a hallelurrrjah (this is to be read in your best Madea voice, you know you want to)? This is especially great when speaking about furniture post 1960’s. Uggghhh, got to love (or loathe, which I do) particle board covered by a laminate slick as snot and that paint just slides right off no matter how much sanding is involved.
But now there is hope for all those gems! I loved this chest of drawers, its lines and details, the turned legs and the pulls. My favorite is the medallion on the bottom.
First step on this one, a good old fashion scrub down. If there is any gunk on your piece you will want to sand that off, to achieve a smooth finish. Also, if your piece has any sort of grease/oil make sure to use a heavy duty cleaner. These can peak thru your final coat, which is sooo frustrating–unfortunately I know from personal experience, not once but twice. You think I would have learned my lesson.
On this project I didn’t have to remove the hardware because well you couldn’t. But I love using chalk paint to paint the hardware it gives it a great shabby chic feel! If you are wanting to keep your hardware in its original state make sure to remove it before painting. No matter how hard one tries you cannot make a paint job look professional if you are attempting to paint around hardware.
Next grab that paint! Remember, have your rag and sand paper, around 120 grit, or block (I prefer sanding block) ready. Paint your piece and allow time to dry. Remember to check your paint’s directions on dry time, but for me I go with the touch test.
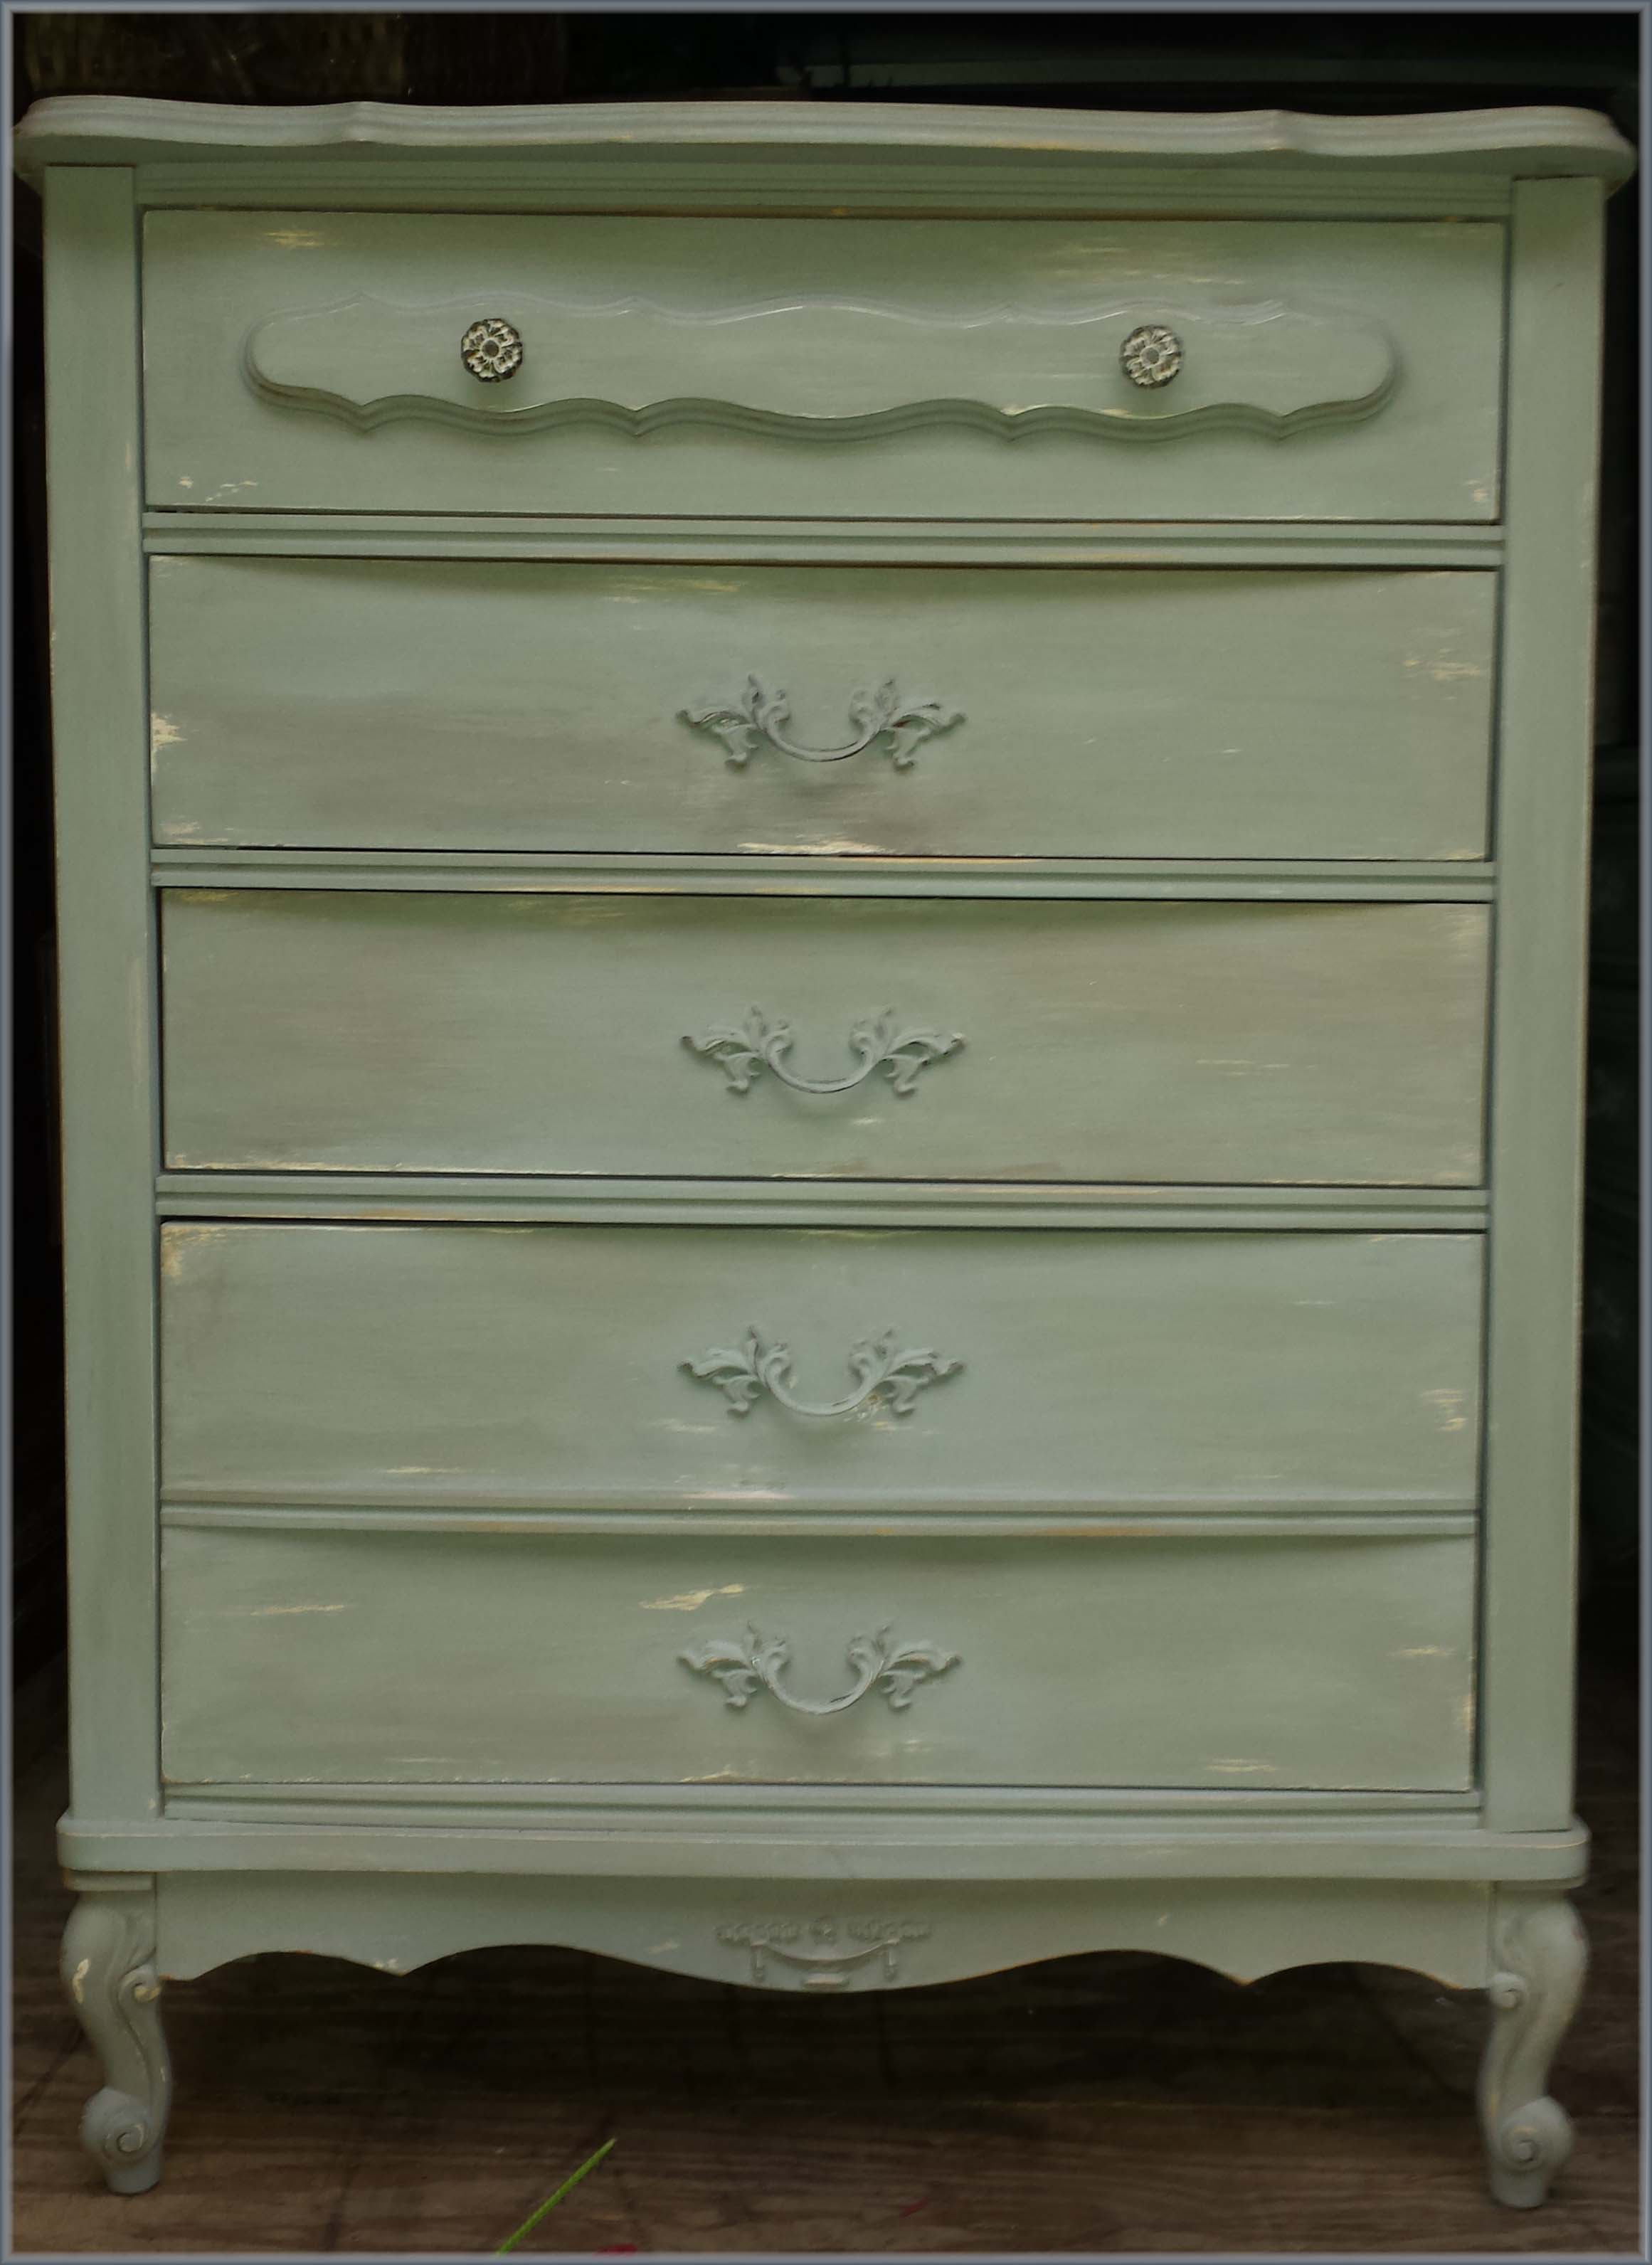
Now the workout and fun begins! Using both the rag and sandpaper/sanding block rough up your areas. I love doing this where it would age naturally, around the pulls are always a great spot because those areas would wear more because of being handled, and of course sides and corners. This one was fun because all of the ornate details, and chalk paint really makes them pop!
After you rough it up decide wether it will be needing a second coat. I did two coats on this particular piece. I distress both coats because it gives it a more natural wear, you have layers of paint peeking through. If you painted two coats then roughed up in my opinion the wear of it is more man-made looking, but totally up to you it is your creation!
Now, if you are happy with your piece pick out your sealer. This chest of drawers was finished with a beautiful warm wax finish. If you go with a wax remember it isn’t as durable as a polycryclic or polyurethane, and at some point it this piece will need to be re-waxed, but wax does something I feel like a poly can’t. Wax highlights the details of a piece so beautifully, and if it is a tinted wax even more so!
What now? Go hit some garage sales and find a piece covered in laminate and reDesign it back to life! Oh, I almost forgot I do have this beauty available in my collection if you are interested e-mail me at redesign.inc.txk@gmail.com
