I can almost guarantee 90% of readers can say they have something in their house right now that is that lovely, shiny, tacky faux brass. Now I am NOT referring to the real deal in this article, never paint real brass….please. But, if you’re wanting to tackle the fake stuff, we got you covered!
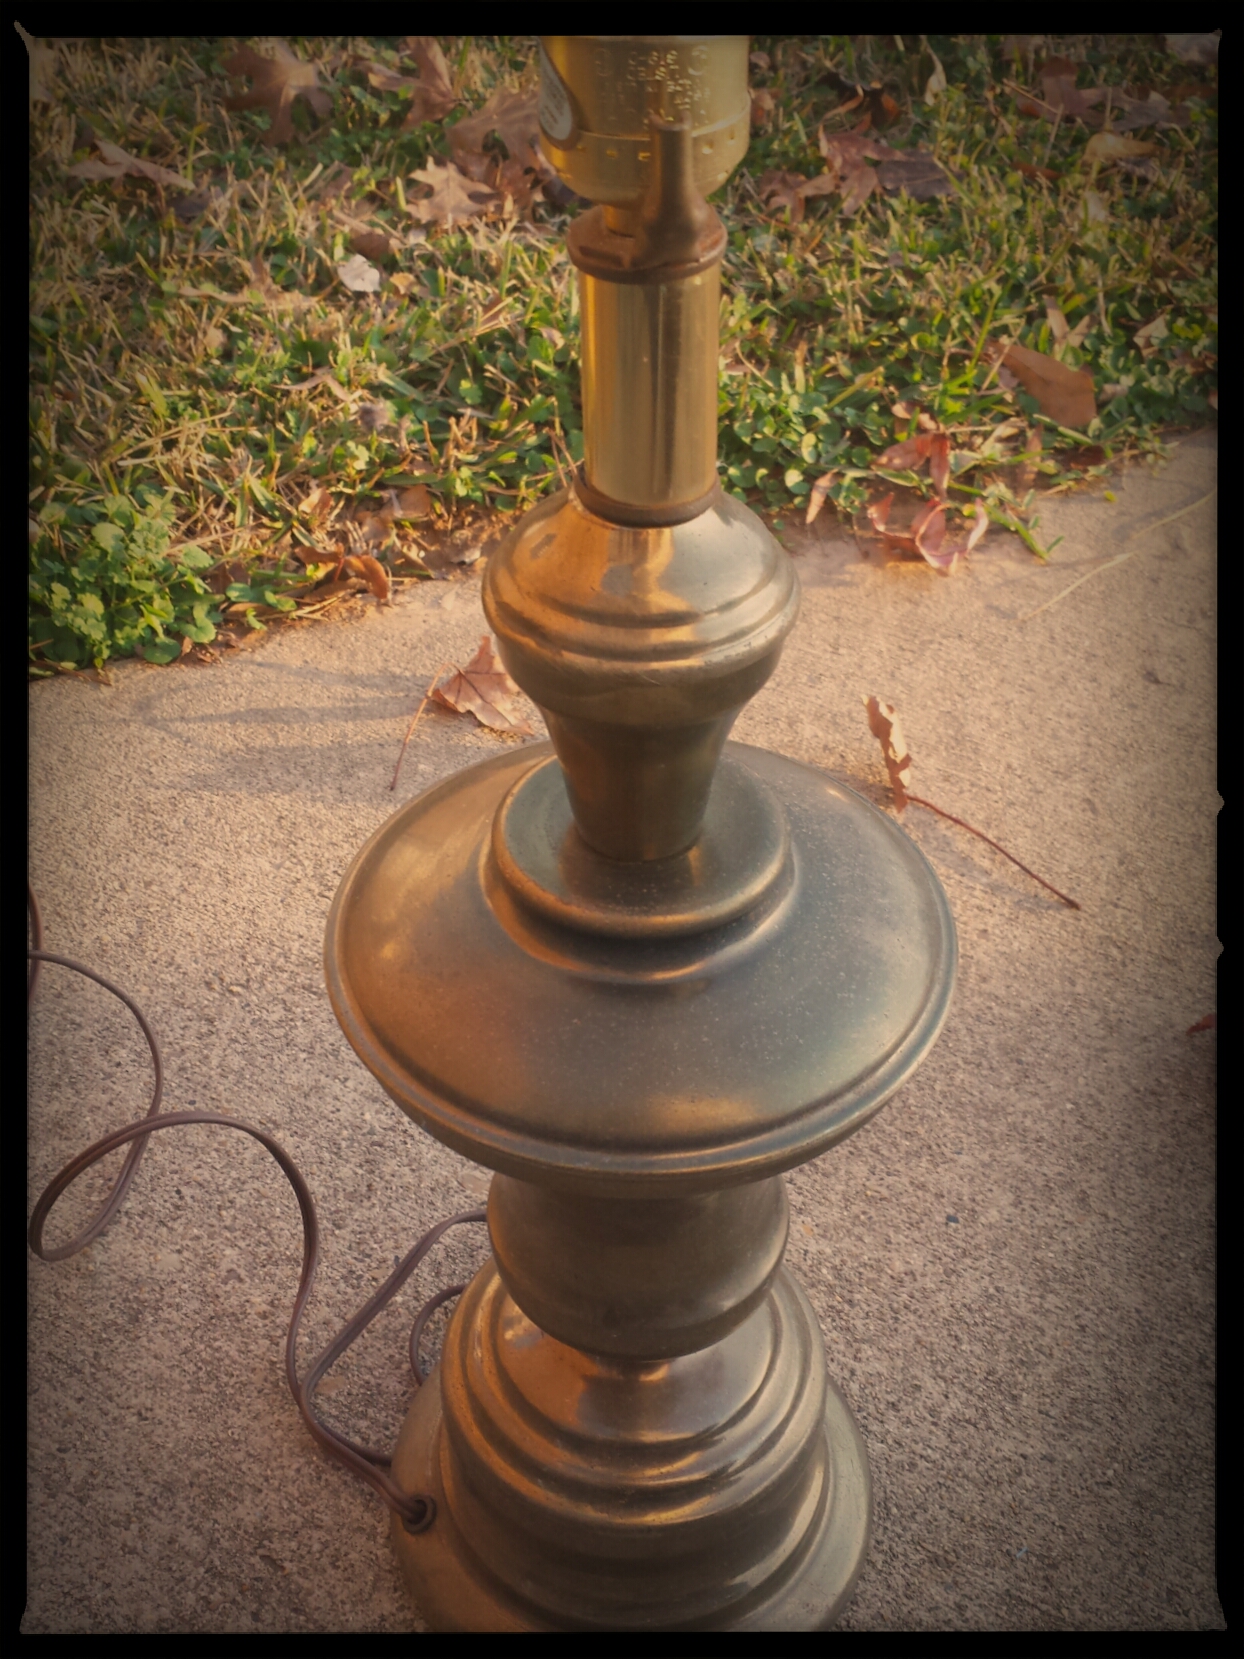
Our first faux brass project is a set of lamps I bought at a garage sale for the hefty price tag of $4 for the pair. I don’t know if y’all have purchased lamps recently but they’re stupid expensive, so I was happy to give the sweet lady my $4.. These had great lines, classic and simple; only problem was their 1988 finish. I would like to make a quick disclaimer there is a right way to use brass in your home, if it’s done correctly it is beautiful!! (My good friend Megan is prime example of this) But that topic is for another say and, these dingy, flaking lamps would not qualify for such use. First off for these bad boys was a good scrubbing. I like to use the green Scotchbrite pad, rough enough to get junk off yet soft enough not to totally eat away the finish. If your brass piece is too flaky you would probably want to start with sandpaper. After roughing up your piece use a gently cleaning solution (I use vinegar and water, 50\50) to remove excess dust, dirt and well funk nasty.
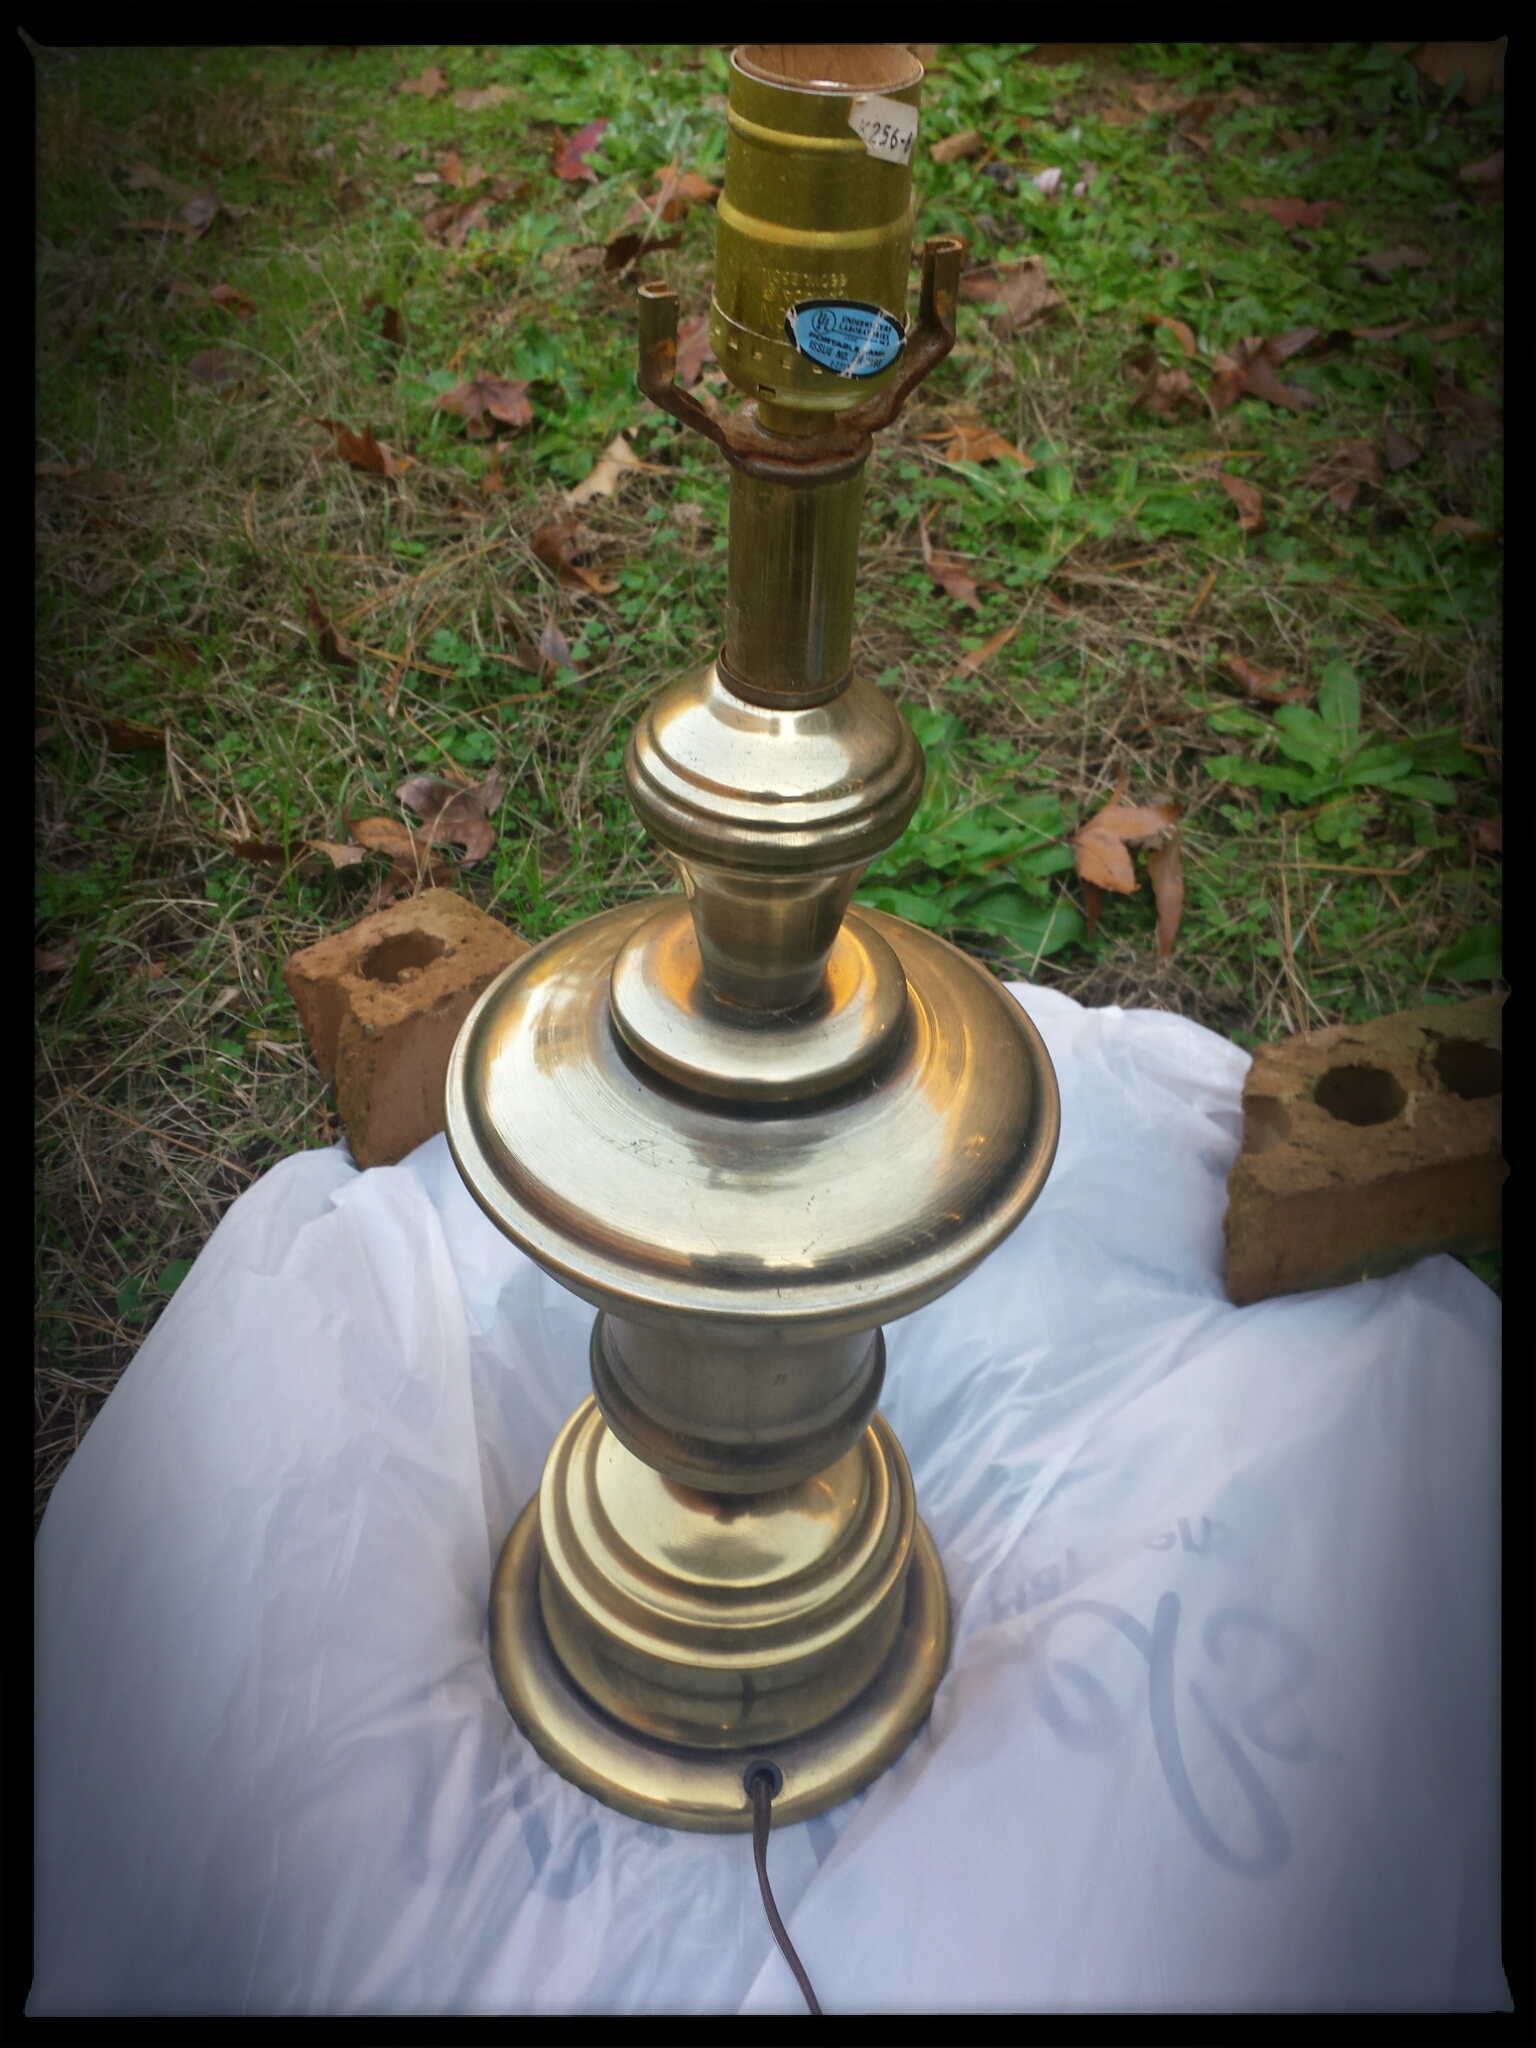
After removing all the grime she’s as shiny as a thirteen year old’s forehead. Next is the fun part….PAINT!! I do advise you to set your lamp on something you don’t mind getting painted. And a little Do as I say, not as I do moment…do place your lamp OFF the ground (promise I did it on the second one, just no photographic evidence) also make sure you tape off socket. I was at a client’s house and had no tape, so you do what you gotta do. Paint possibilities are endless here, but this was for a stage I was doing and you know for that we go for mass appeal…so a soft iron grey was going to now clothe this brassy beauty.

Oh look, so new and shiny…not like shiny as in brass but wet paint. Now tough part, let this puppy dry for at least 4 hours, if it’s cold even longer. When you think she’s dry give it the finger tip tap test in an inconspicuous area, if it’s the least bit tacky leave her be. Those innocent finger prints will end up making your piece look like a cheetah, and if you read this blog you better not be purposely making anything into cheetah print 🙂 So after about 5 hours of drying I took her in to look at her.
TIP: Always look at an object or paint in the room it is going in to make a decsion. Lighting changes drastically in different environments and even rooms….saves you lots of time repainting in the long run. That blue that was so beautiful at Home Depot now looks like cotton candy puked on your bedroom walls.
After taking her in I felt like she was still too shiny, so out comes my handy dandy Scotchbrite pad. I then lightly…emphasis on lightly please, rubbed the finish. If your lamp is the least bit tacky this would be a disaster, that is why ensuring it is fully dry is important. Rub evenly from top to bottom all the way around.

I wanted some of the metallic-ness (yep pretty sure I just made up a word again) to come through and give it an aged appearance. After its light scuffing I cleaned her up and give her a new hat…lampshade, which was a Target clearance find for $4. So my total for both lamps including supplies was under $15!
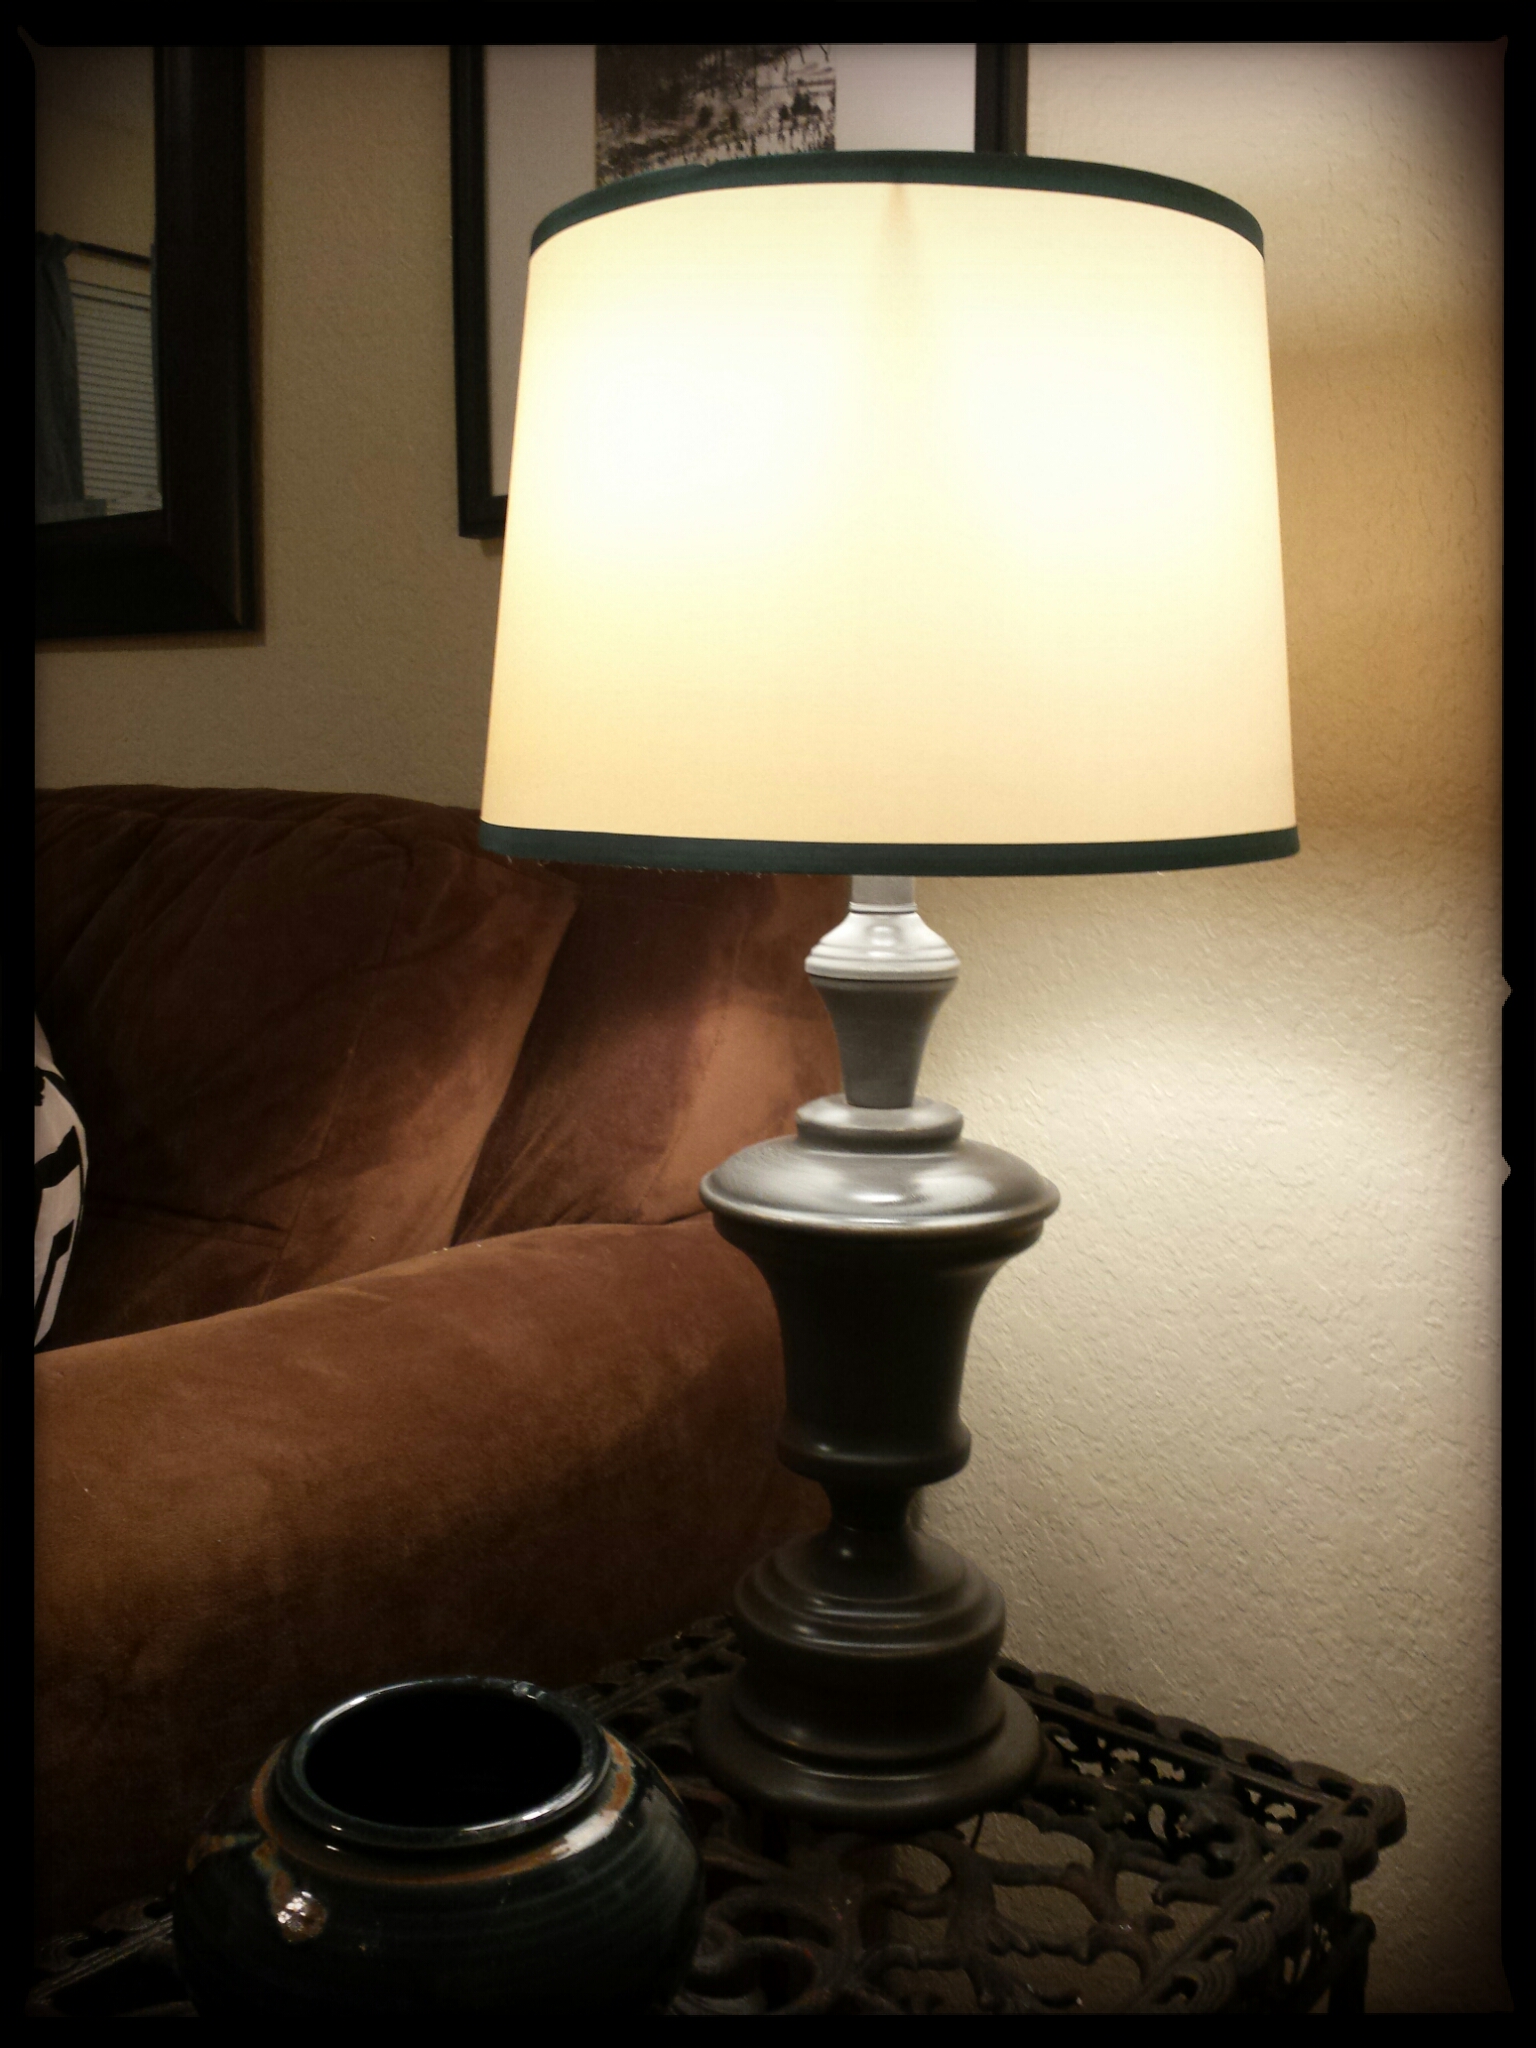
Not only was the project cheap, but it was easy! I spent about 30 mins working on the lamps, the longest part is the dry time. This is a great starter project if you’re new to D.I.Y. Oh, and the best part of these lamps (besides their amazing makeover of course) they’re touch lamps, that’s right just like your Granny had in her den 28 years ago. They amazed me then and still do today.
So go hit up some garage sales and find your Granny lamps!
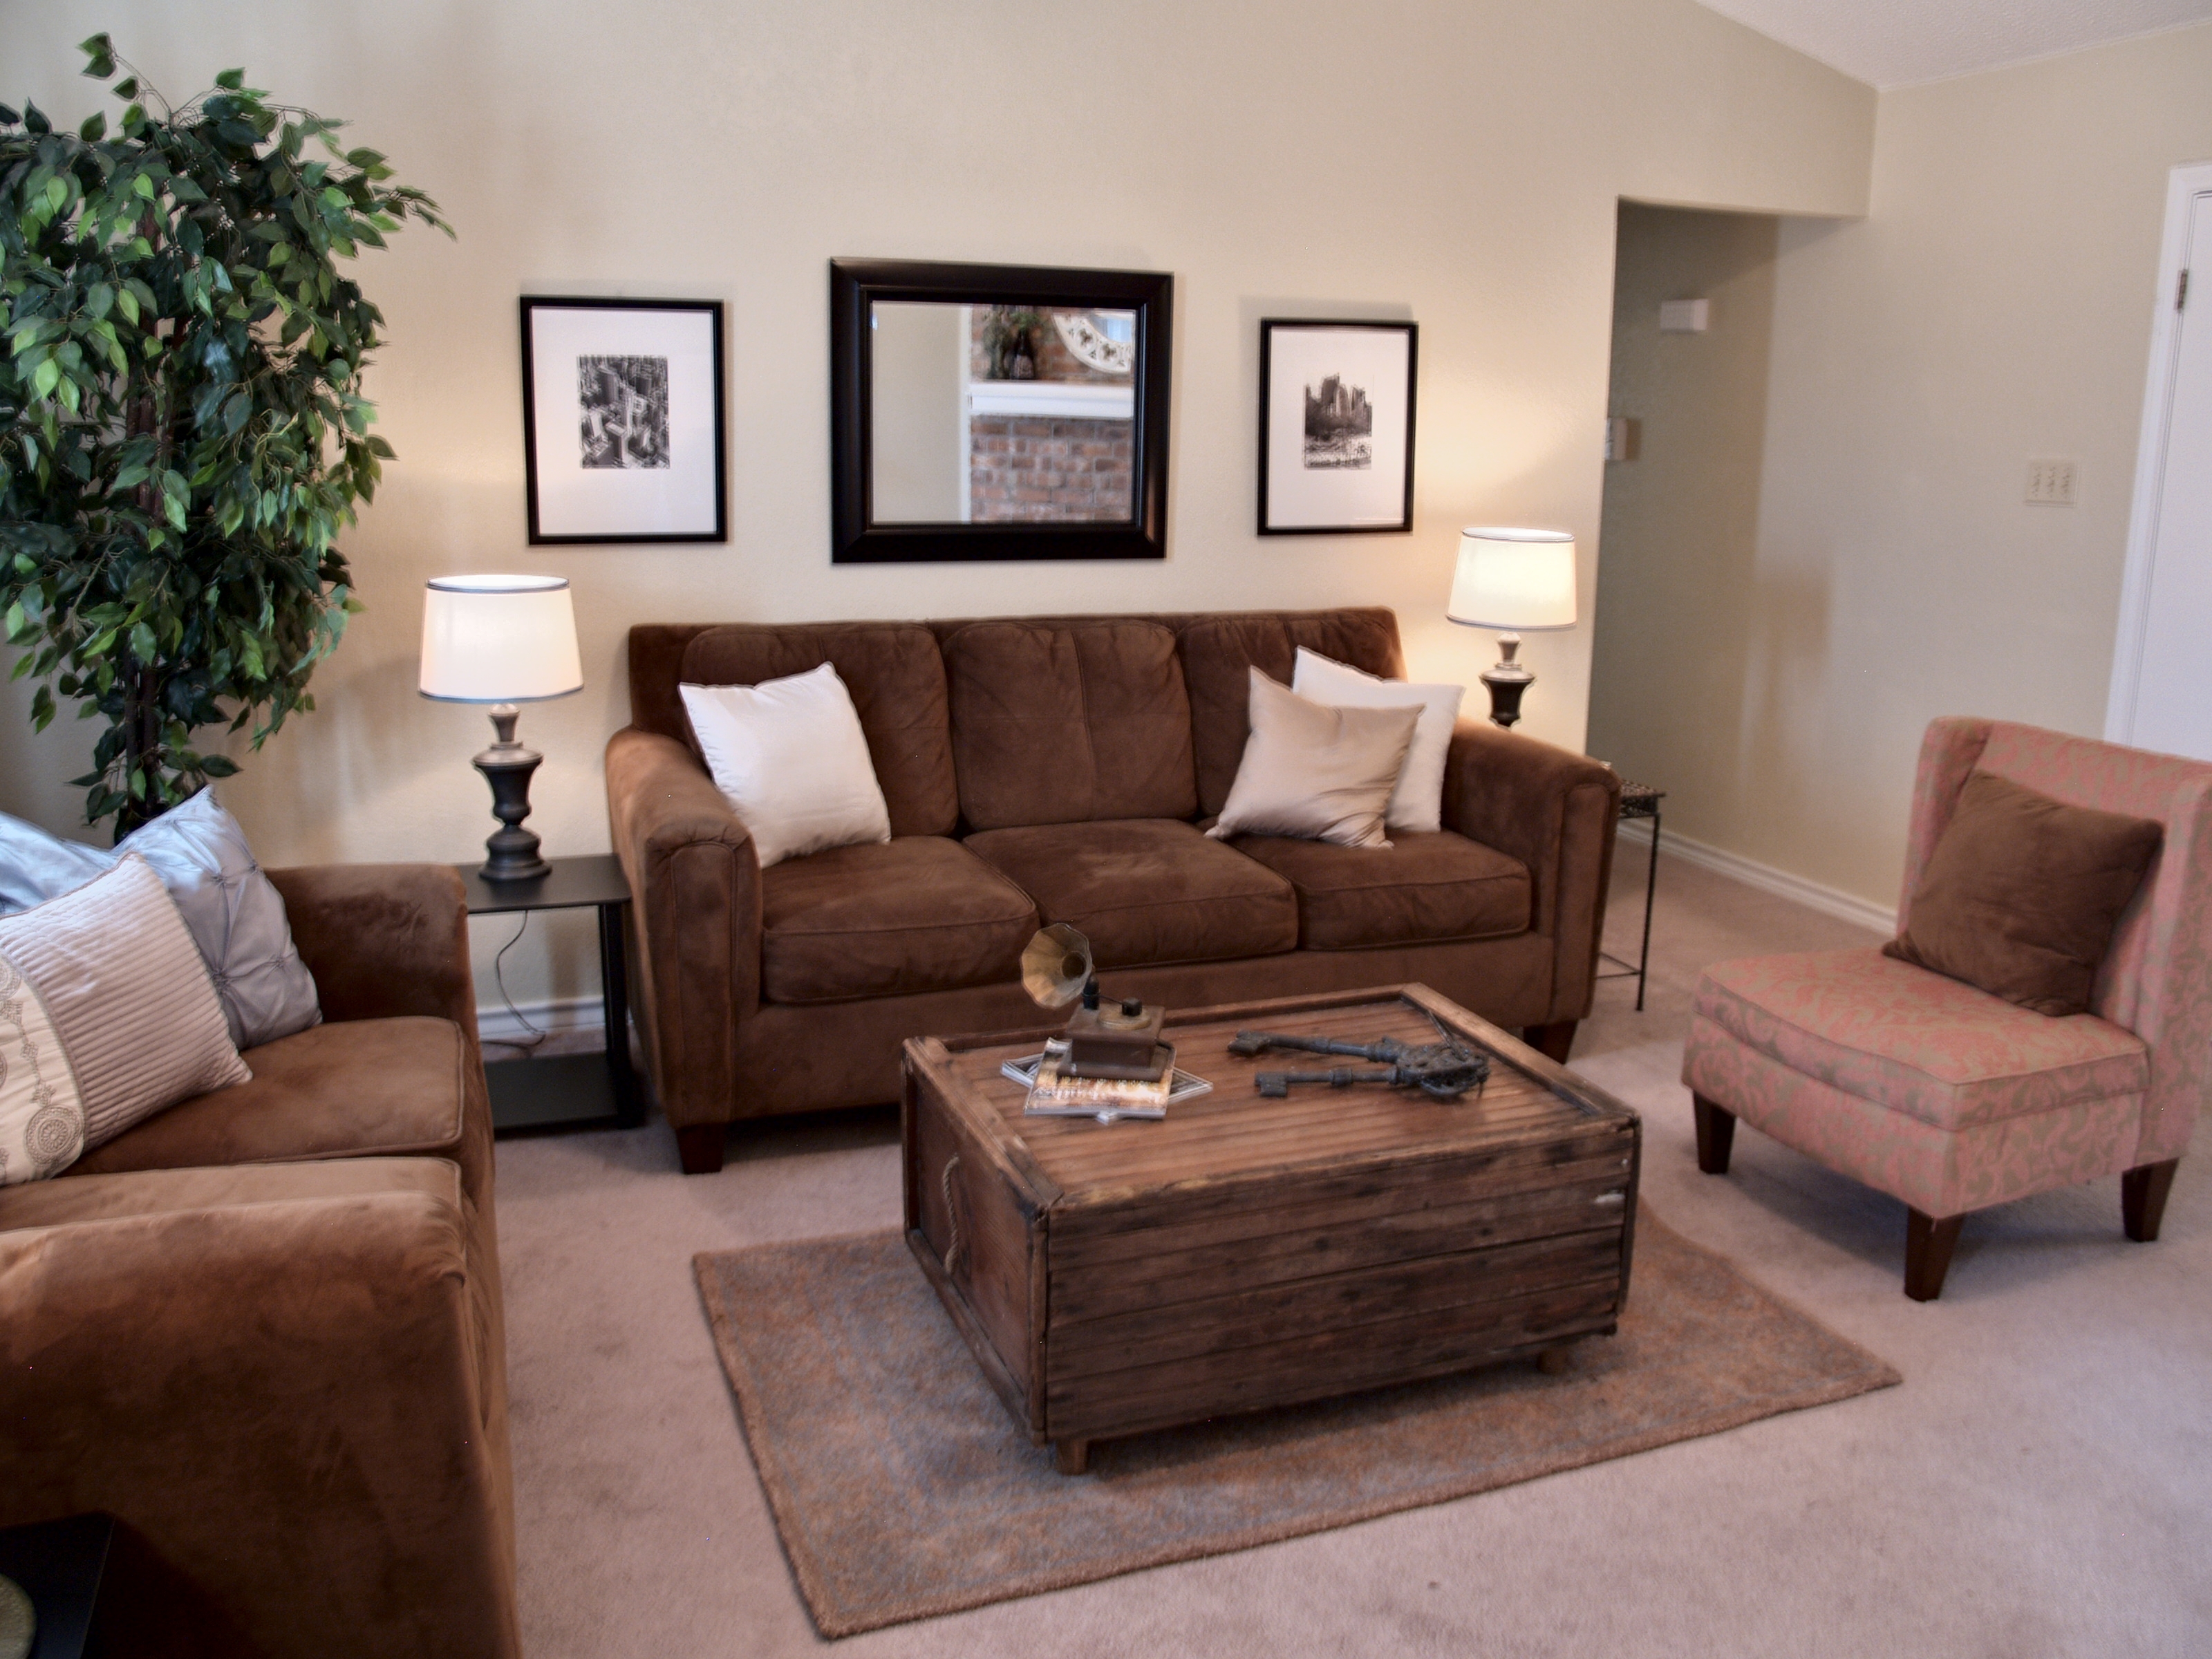
Here are the set of lamps being used in 134 Presidio stage.


Those turned out great! Love your idea of using the Scotchbrite pad. That process really added some depth and interest. (I am not playin…I think those lamps were mine. I had a pair exactly like those in the 1980’s!)