Oreos and milk, salt and pepper, Batman and Robin, 80’s hair and Aqua Net…so many great duos in life. Another great one that we will be talking about today is coffee and cake, and I am not referring to the kind from Starbucks.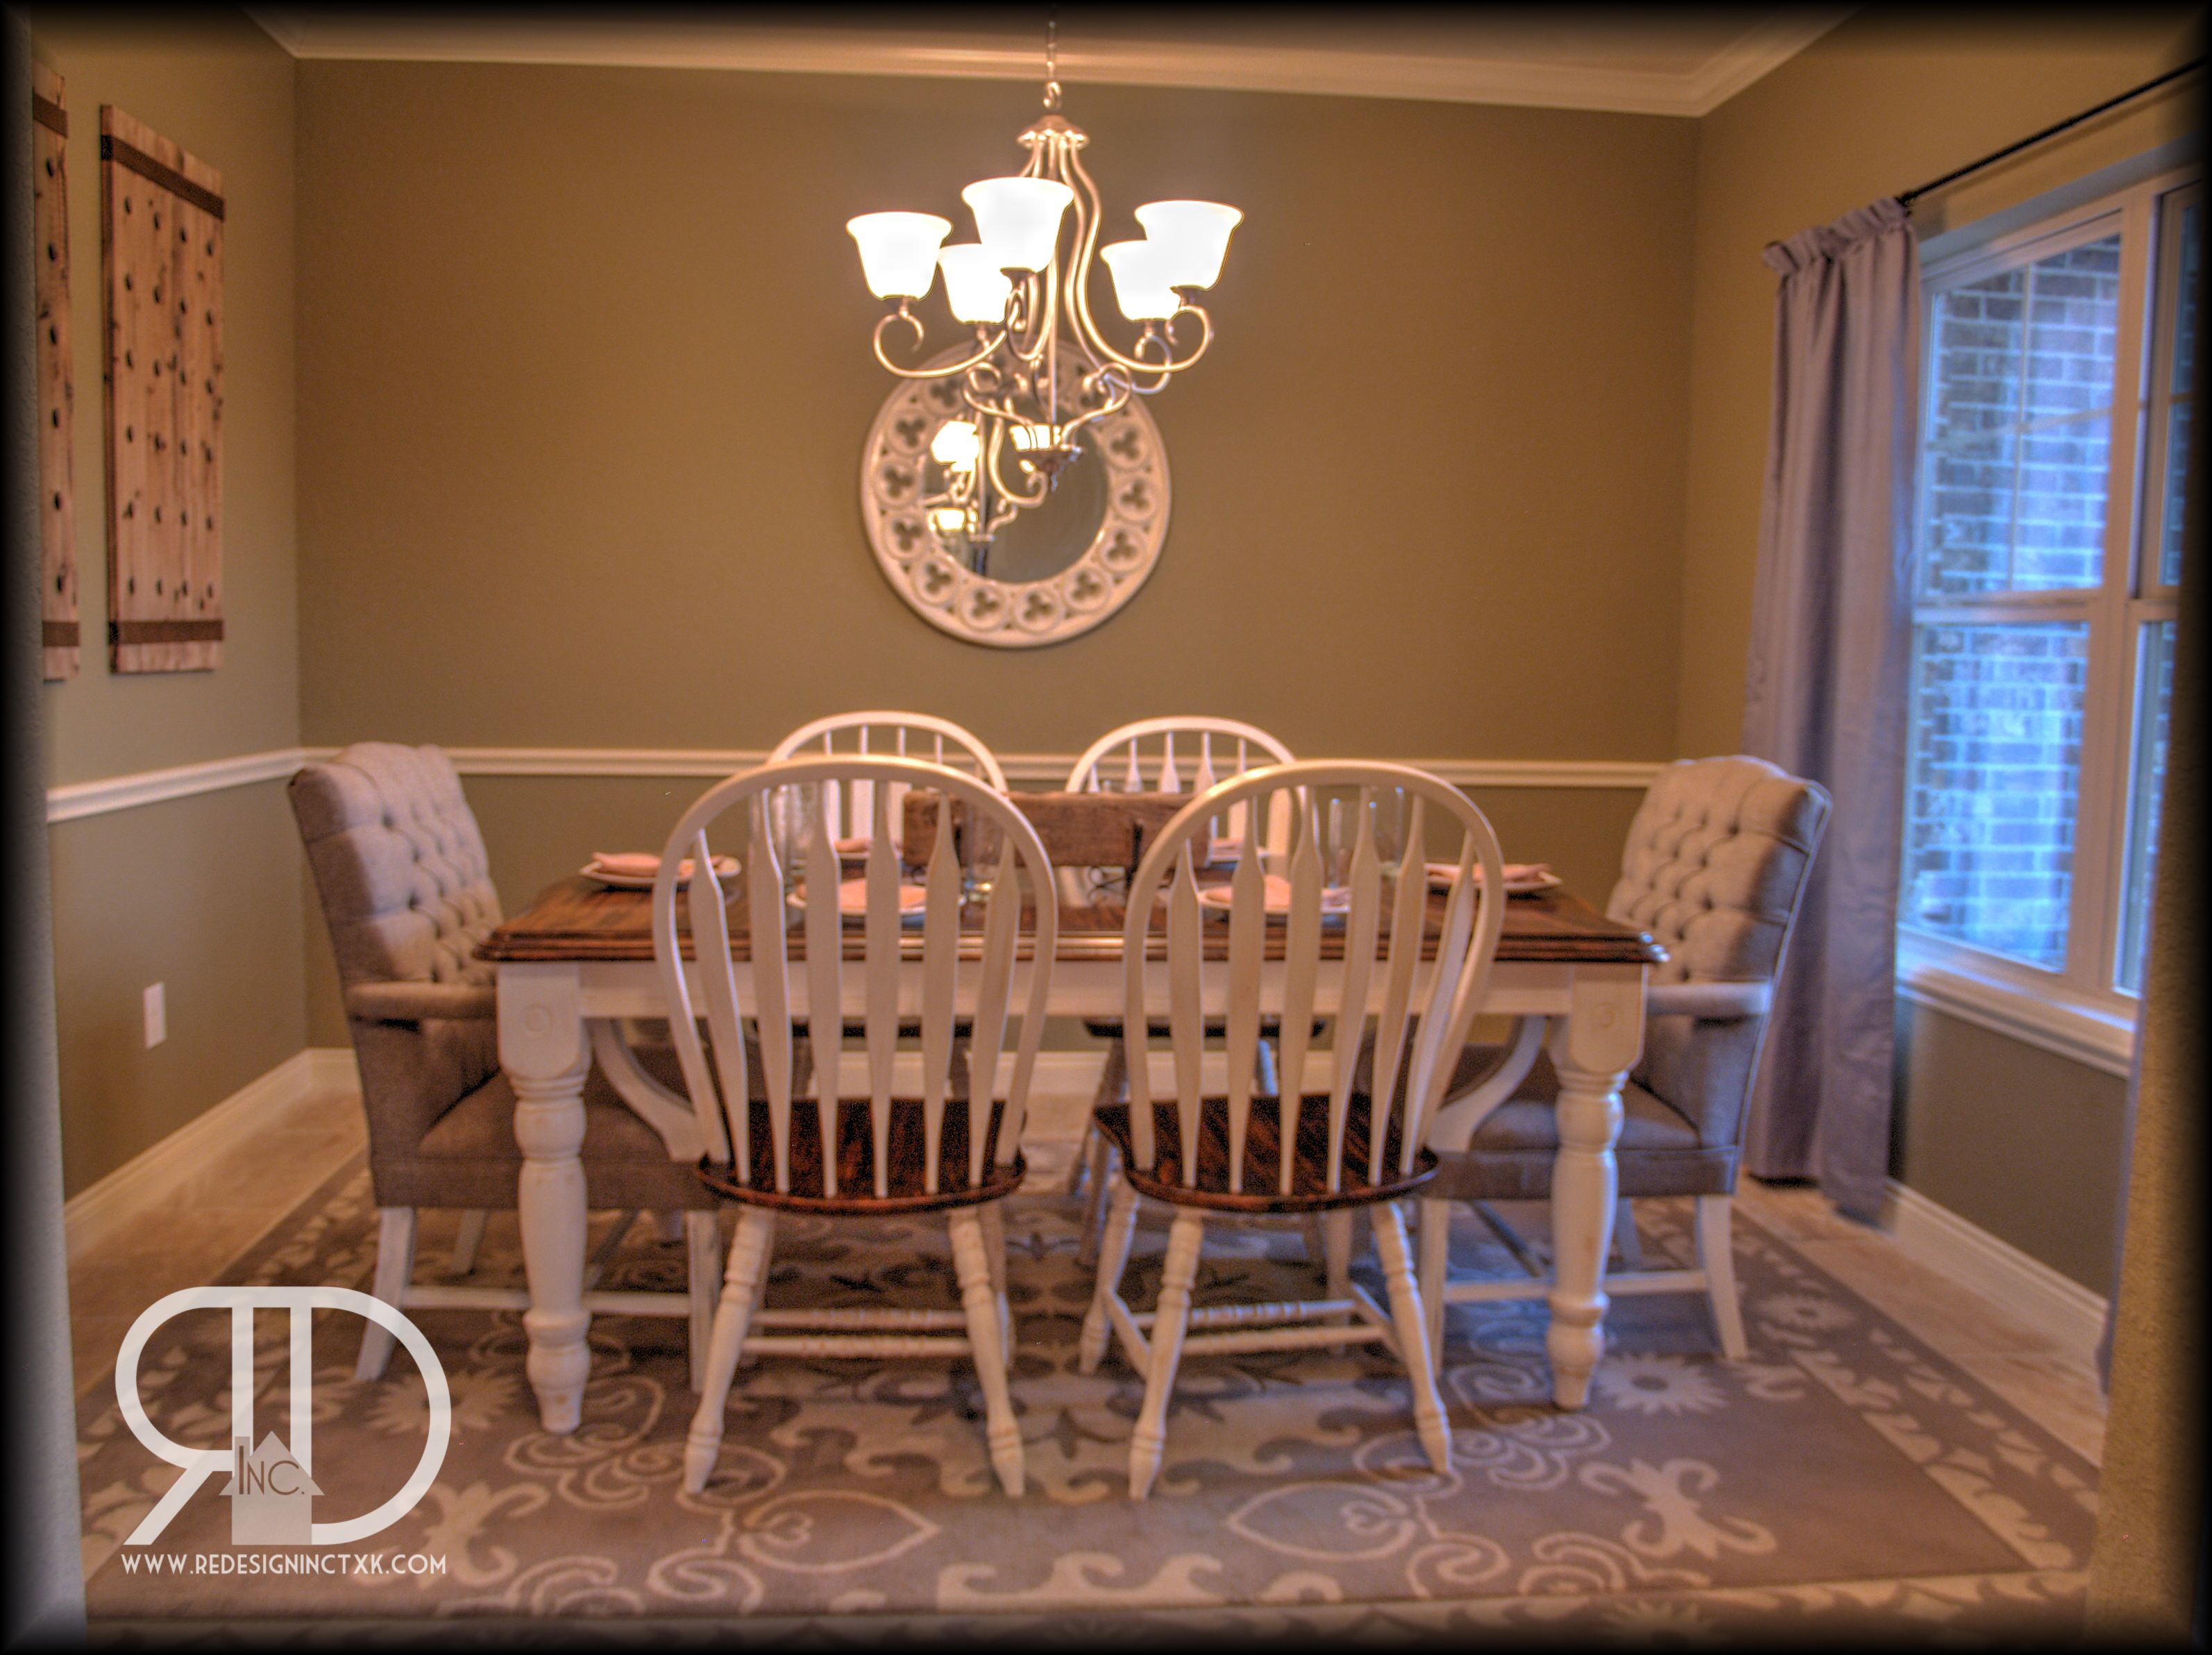
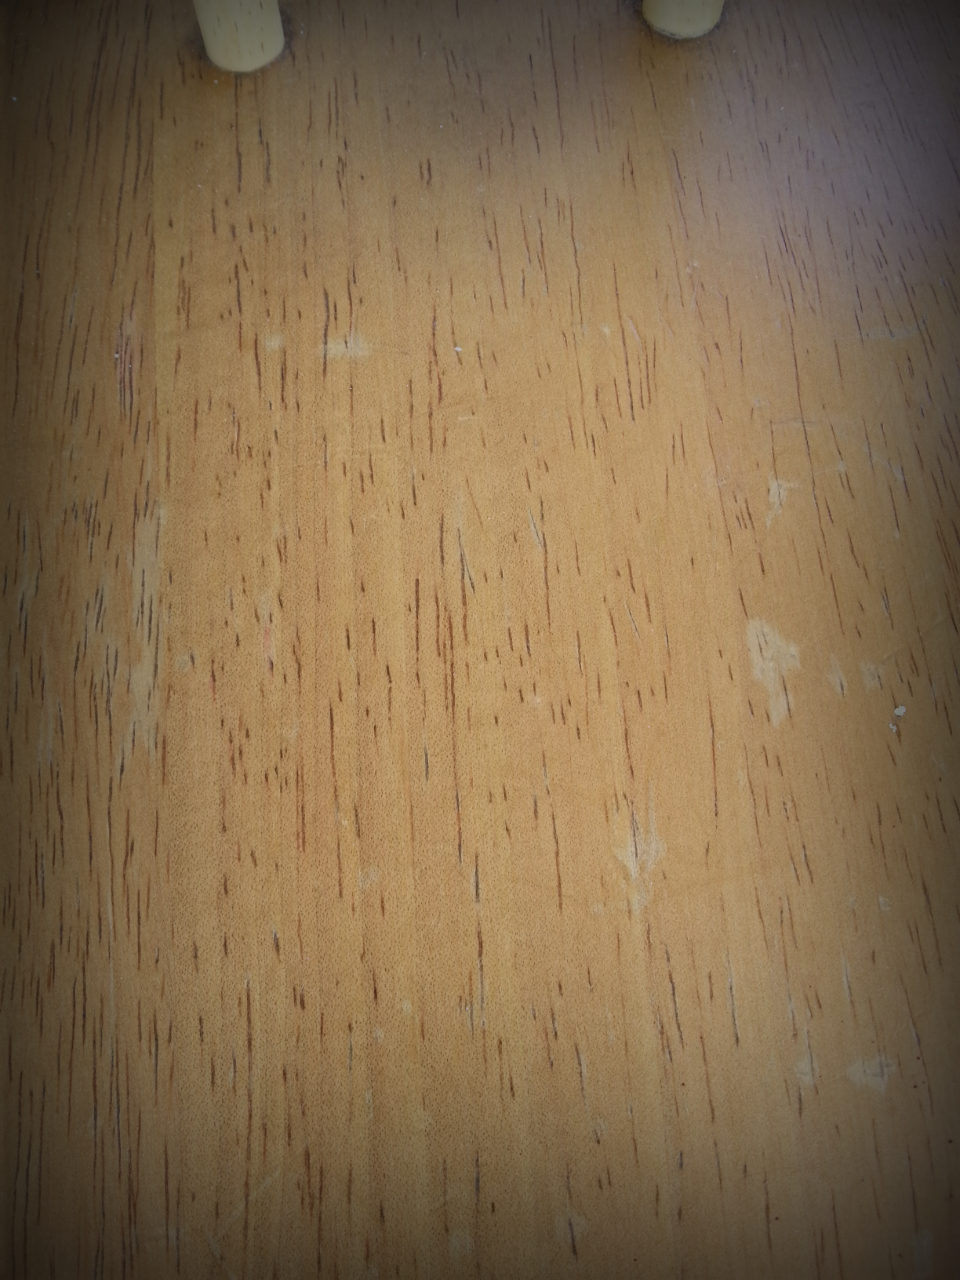
These past few weeks, yes it took like 2 1/2 weeks to complete this monster, I refinished a great farm style table using Martha Stewart Wedding Cake chalk paint and Java colored gel stain. To understand the grandness of this transformation let us gander back at the before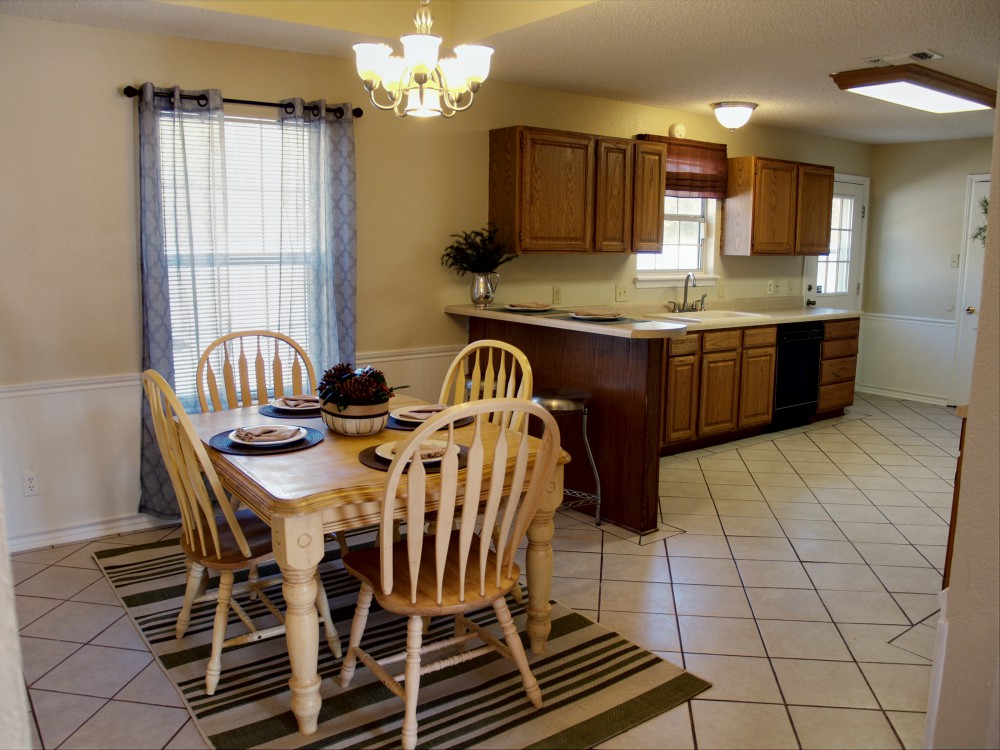 Now, was this table horrible and hurt your eyes to look at…NO. But, it had definitely seen better days. You don’t notice the yellowing that had occurred quite as much in this picture. But check this out:
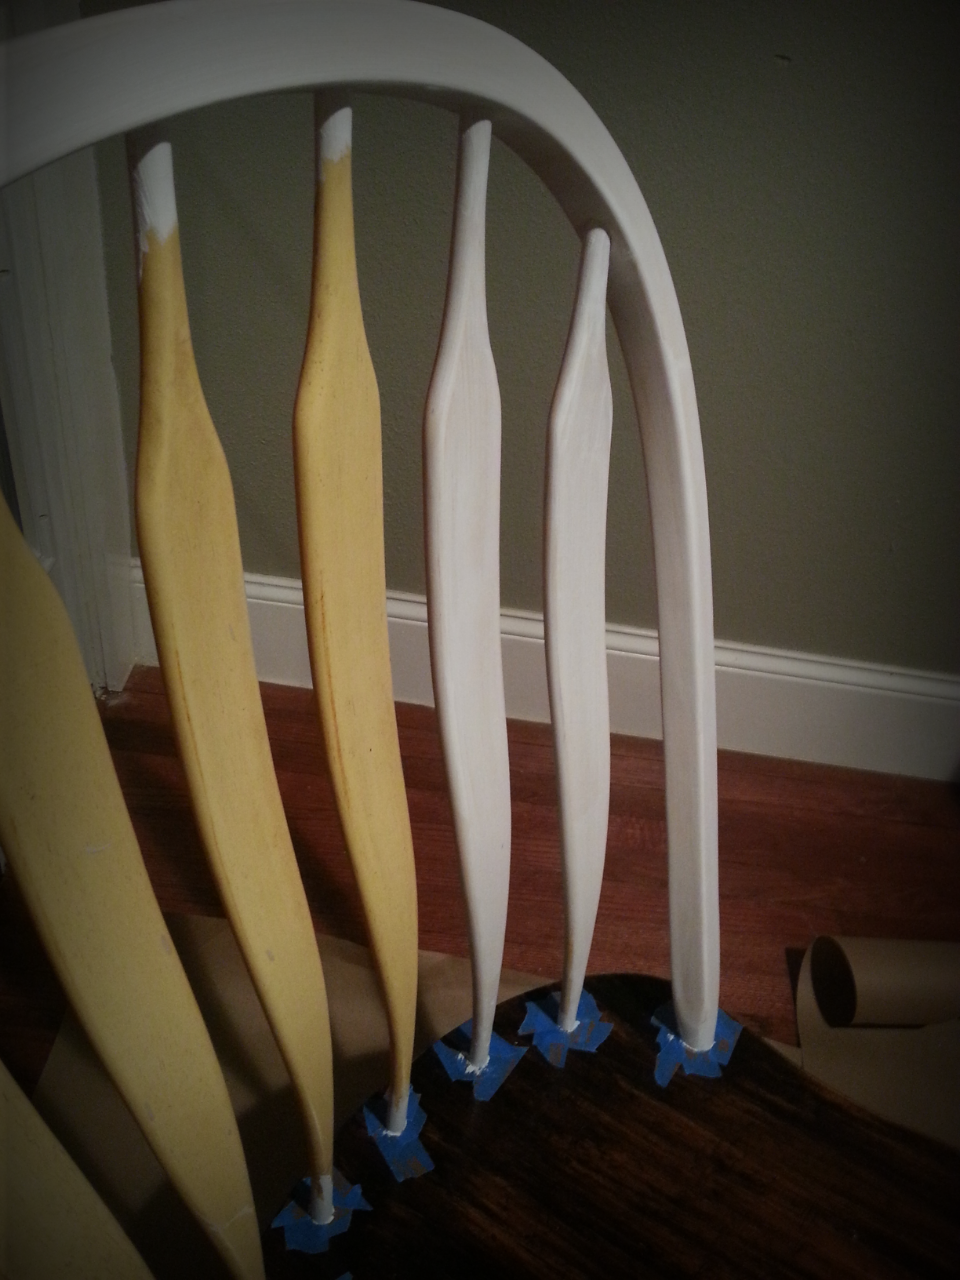
So the first pic looks like a yummy, warm buttery yellow…WRONG! I liken the color more to nicotine stained teeth. You really notice it when the wedding cake white comes out!
Ok, so lets get started. First off…and first for every project CLEAN, CLEAN, and CLEAN again. On this project I used denatured alcohol and water mix because that is what the gel stain recommended for cleaning prior to stain. Cleaning is so important for any project, but you especially need to clean anything that has come out of or was around the kitchen extra well. Grease and food particles stick to wood and can be hard to see, until you go to seal your project then those mean grease spots start popping up like chicken pox. So frustrating!!! Unfortunately, I have had this happen one too many times.
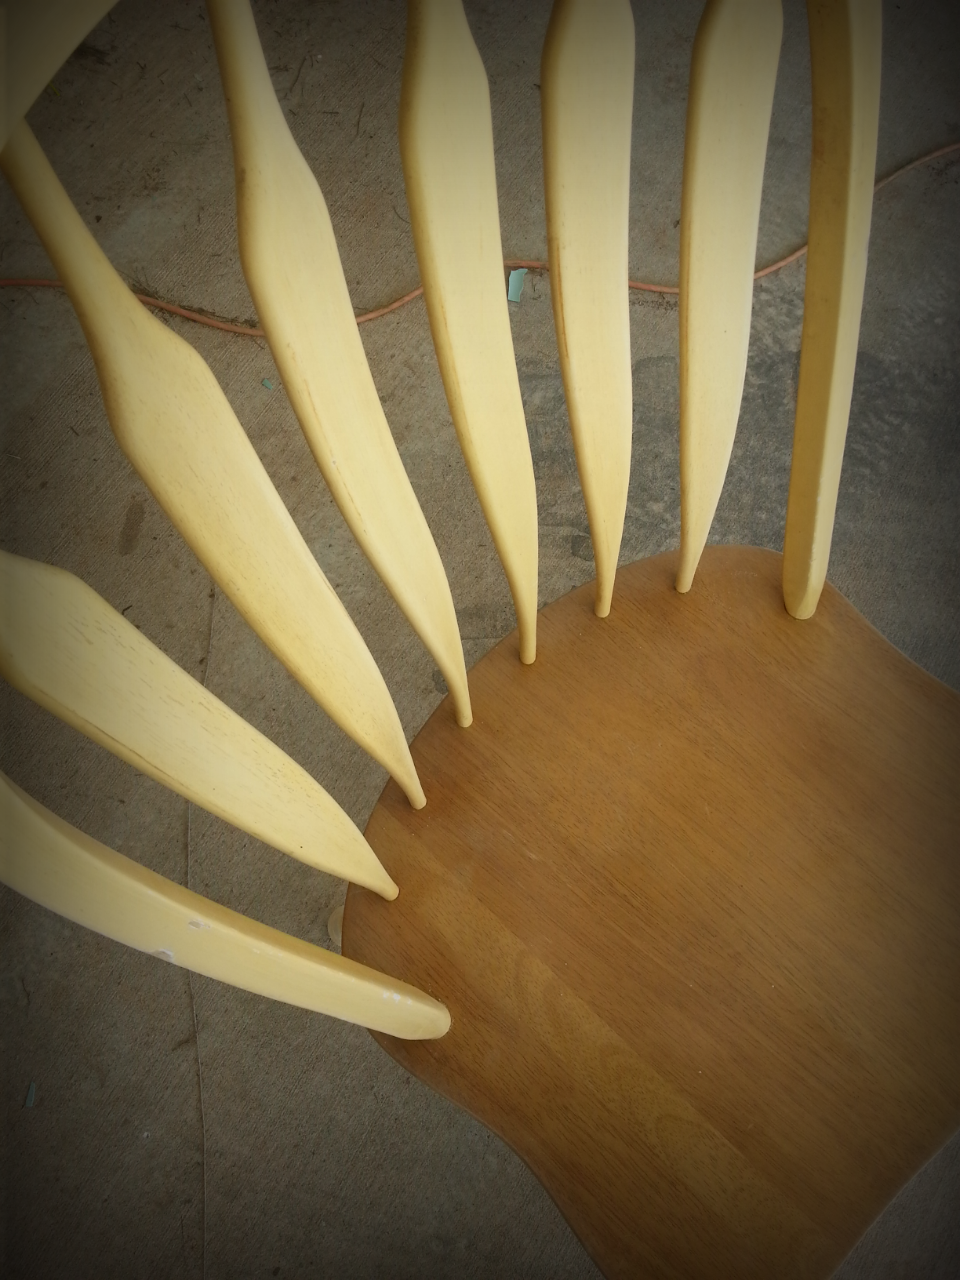
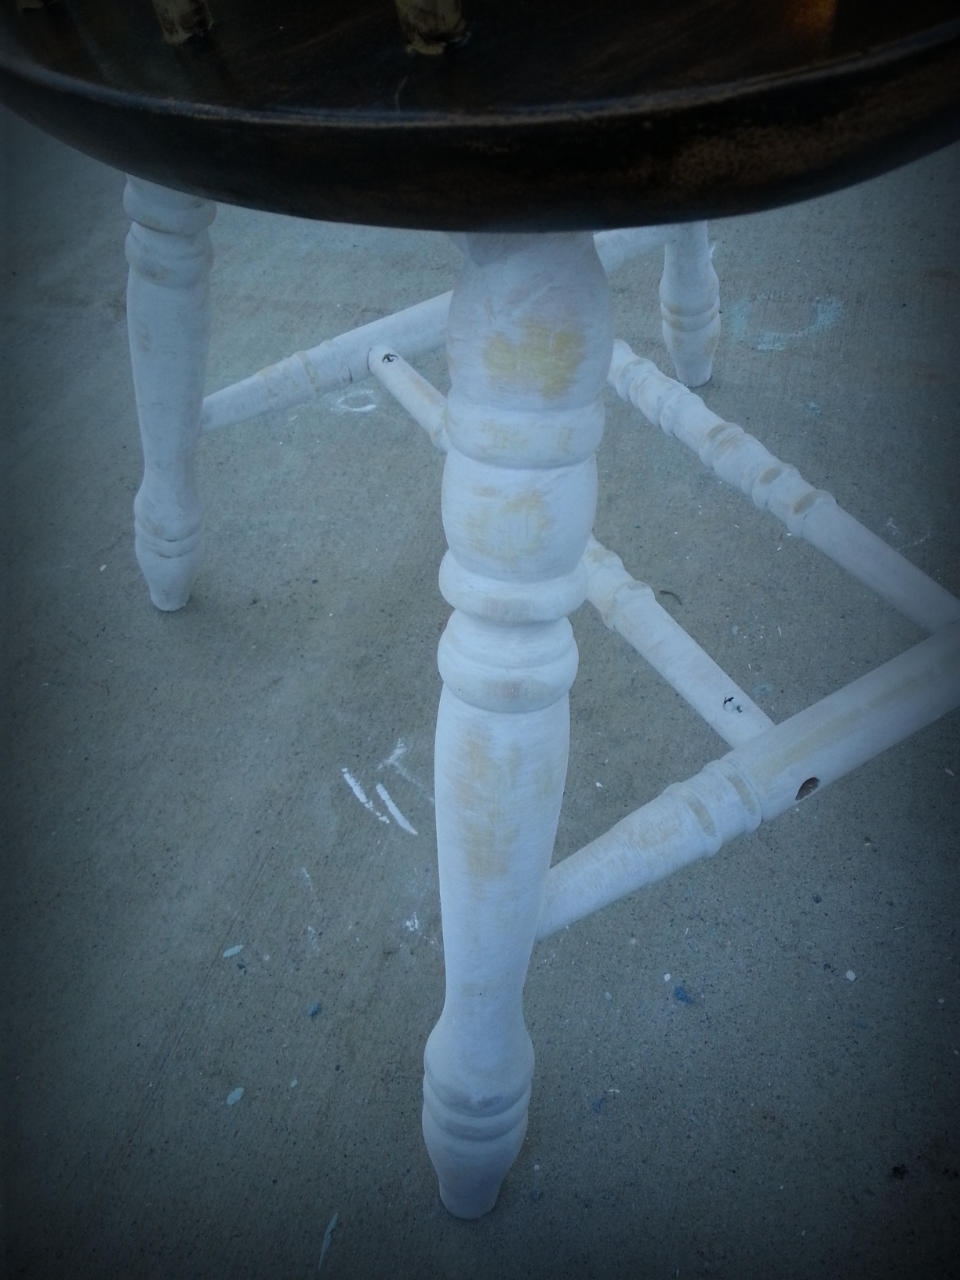
 Sanding is an important part of cleaning. The above pic shows a bottom on one of the chairs AFTER that joker had already been scrubbed not once, but twice. You know I love chalk paint because you don’t have to sand, but sometimes sanding is a requirement to get a good cleaning for your piece.
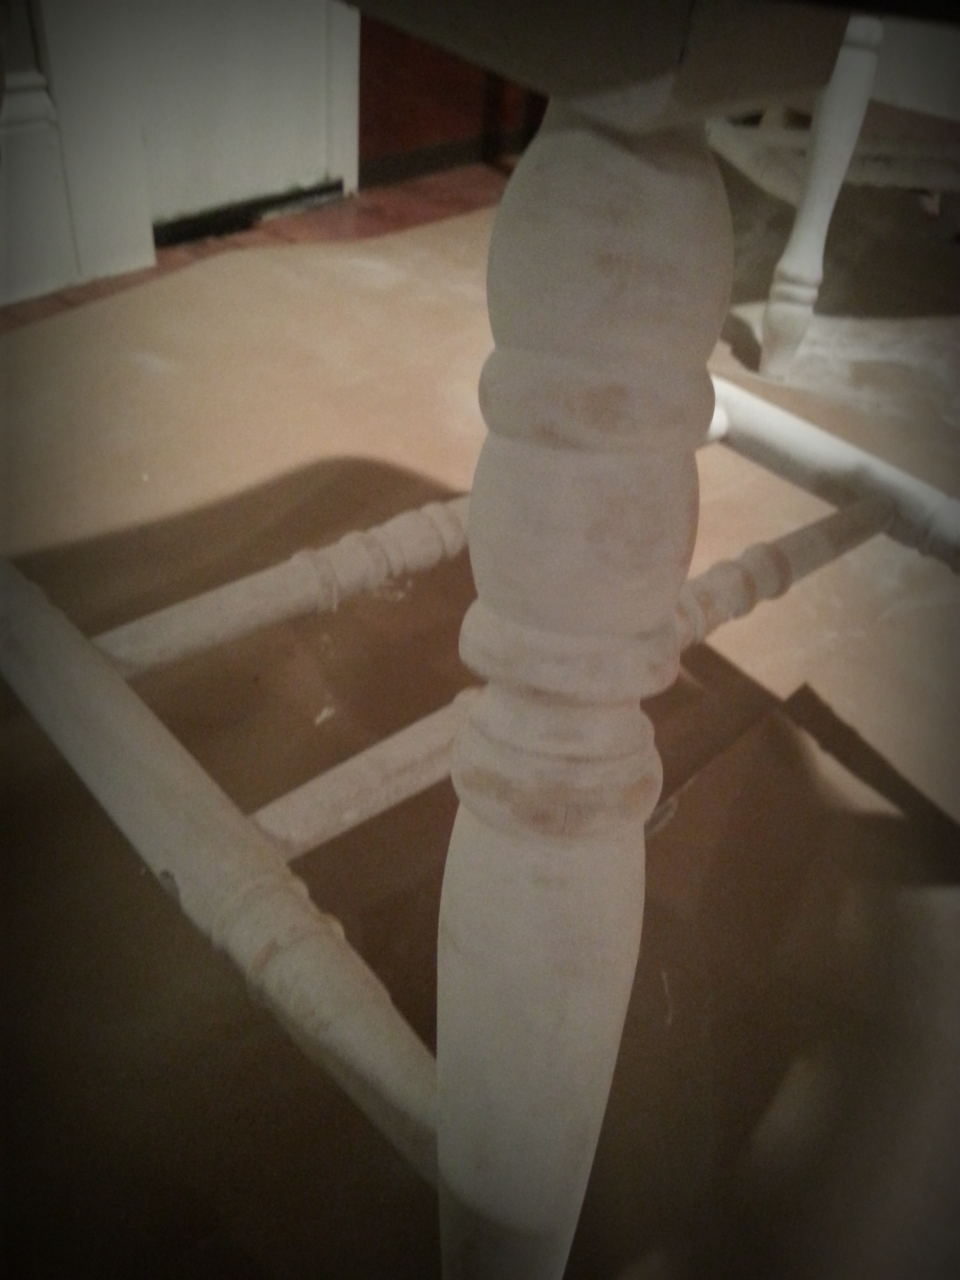
 Same chair post sanding. I like to use a medium grit sanding sponge. Seriously took like 60 seconds to sand the entire bottom of this chair. After sanding I cleaned the piece again using my denatured alcohol mixture then I rubbed the entire piece down with a tac cloth to remove any loose dust that I wasn’t able to pick up.
I debated on which to do first gel stain or chalk paint. I finally decided I would stain any wood first, then follow with chalk paint. I knew if I got any gel on the areas that were to be painted no one would ever know because chalk paint is so thick you would never see it. And let’s be honest, no matter how well I taped off I knew I would still have bleed over.
 Here is one of the seats of the chairs. Notice it’s not perfect by any means. There were discolorations and blemishes all over the wood. But using gel stain is different than using a regular stain. It kind of like if paint, stain and glaze had a baby (ok i know that is impossible on so many levels one being that I said 3 things). So in this project the thickness will be our friend in hiding those flaws.
There are many PROS of using gel stain, they say it can be used on a number of surfaces. I can’t vouch for this as I haven’t tackled a metal or glass project where I wanted to use it, but they say it can be done. Another great thing about gel stain and my favorite part…drumroll please NO SANDING DOWN TO BARE WOOD! Amen, hallelujah! Just a light sanding to even out your surface and ensure all grease and grime are gone and your piece is ready to be transformed.
I read so many blogs, reviews, watched videos on how to properly work with this stuff and now I will share with you what worked best for me.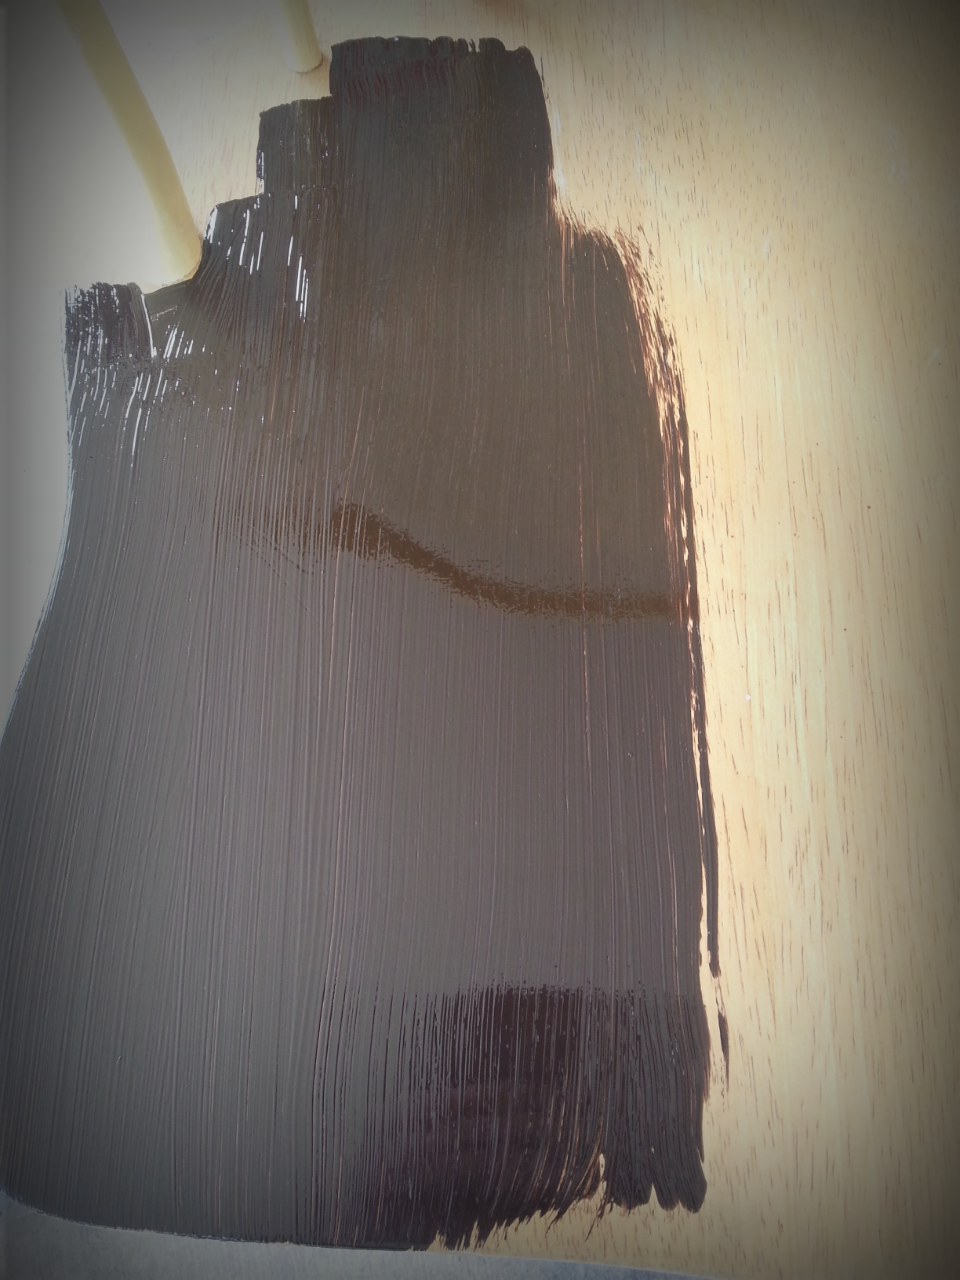 First off, the slap on. I used a mixture of an old, worn, thin t-shirt and two good quality paint brushes (you don’t want to be digging bristles out of your beautiful finish the entire time so spend the extra $3). Important thing with gel stain, work in small sections. The seat I divided into 3 areas, the table I did in about 6 sections. First, I used the paint brush to get the stain evenly on the surface. On large areas such as the table top work with a straight edge (I used a scrap 1×4 we had lying around) to ensure that your dragging and painting look real. If you start on the bottom of the table at one point then end at the top 8″ over from where you started your “grain” you created will look umm…not so great. On chairs, make sure to get up around those spindles, don’t worry if you get on the spindle the chalk paint will cover it. You don’t want the old finish peeking through. Now, I know what you’re thinking Natalie that is ugly and looks like you smeared my child’s diaper on that chair. You are right it is. But just chill out.
Wait about 1-2 minutes (depending on the temperature) until the stain starts to dry. Then bring out that rag and lightly drag your rag in the same direction as the grain. I know what you’re thinking…still not great. Have faith guys!
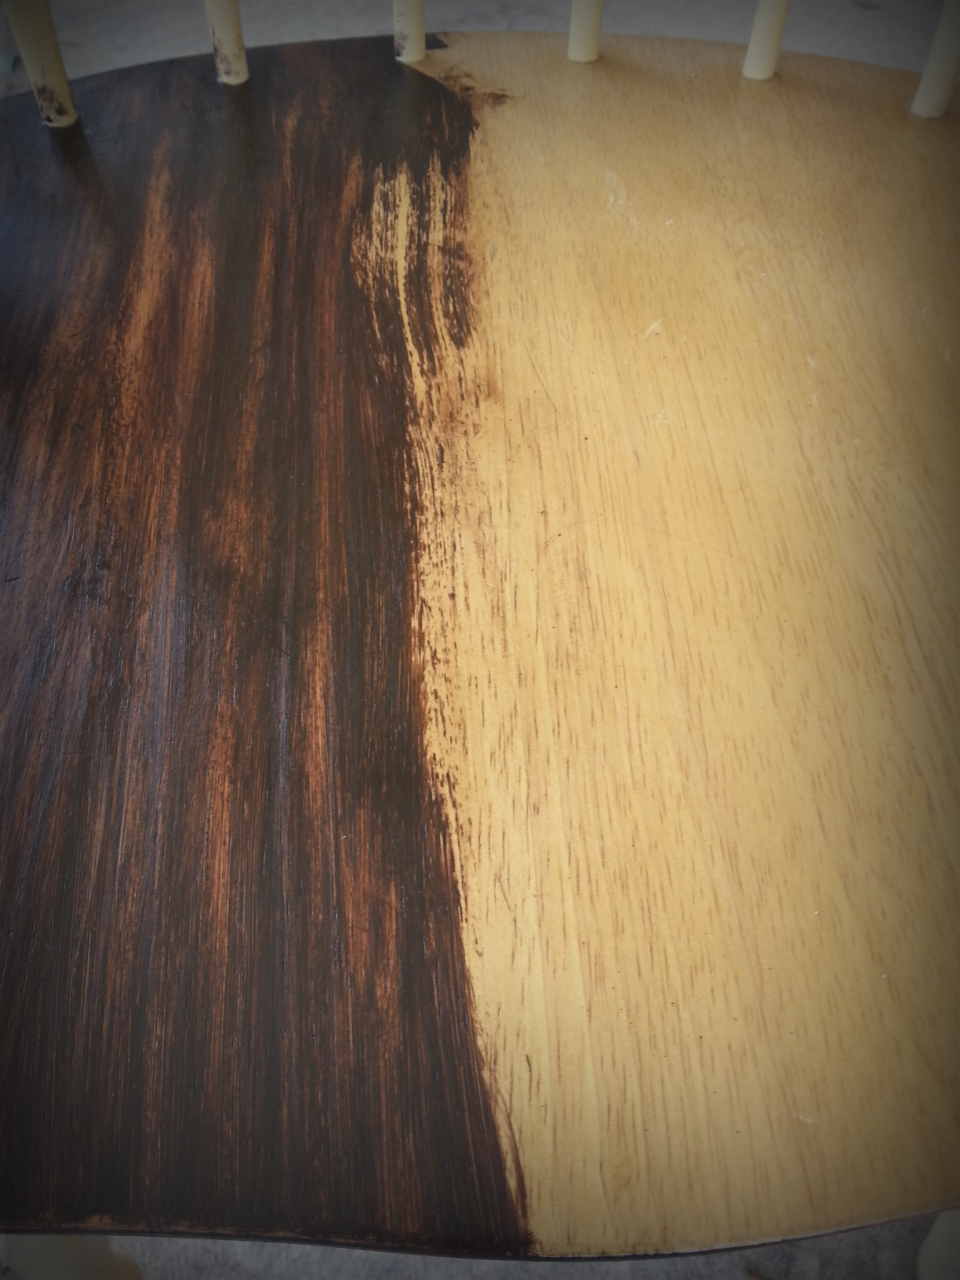
 Ok, next after you have ragged it down follow up with a paint brush that has been dipped THEN BLOTTED ALMOST DRY (that’s important) with paint thinner and work it in the direction of the grain.
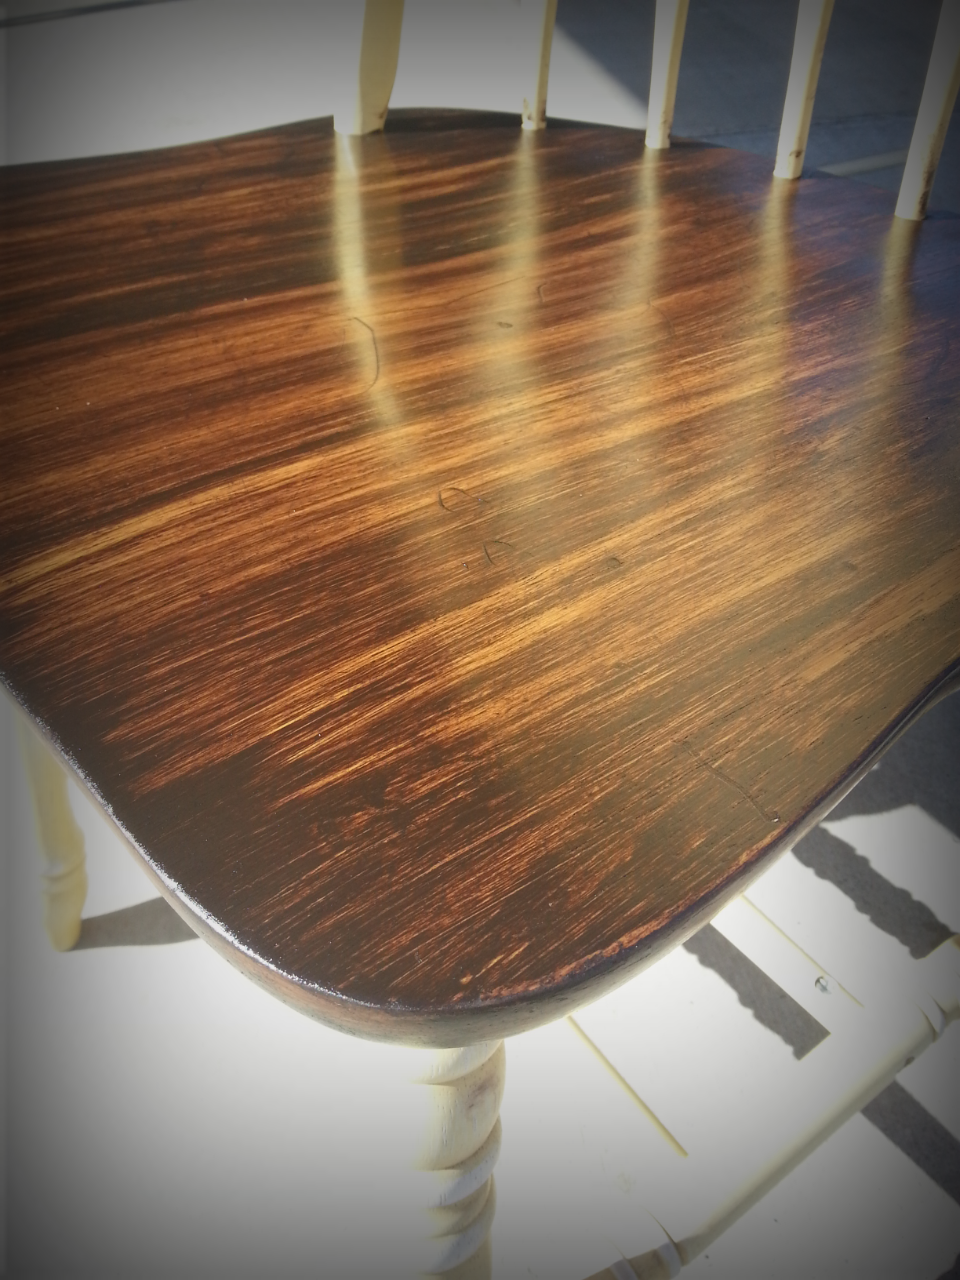
Your finished product should look something like this. No worries if an area is too dark use that paint thinner brush a little more, or if it’s too light do another layer with your gel stain brush and thin out with the paint thinner brush.
I only did one coat of stain because I loved the aged tobacco stain look. Now the hard part. This must dry thoroughly before it is sealed. I left my chairs and table top sunning for a good day and a half before I touched them again. After they cured a bit I grabbed my handy dandy fine sanding sponge and rubbed the stained areas down giving it a bit of a worn feel, but not too much…we want it to look like it was actually aged not attacked by an electric sander. I follow that up with a tac cloth wipe down, then finish the stain off with a polyurethane based sealer. For table tops I use at least three coats since they will see a lot of use. Make sure your sealer cures fully before heading to the next step (at least 1-2 days).
Next up…chalk paint. Since you already prepped your piece you get to ALMOST jump straight to the fun part. Notice I said almost. This was the most tedious part of the entire project. Taping off the seat. I used the 3M Delicate Surfaces painter’s tape since the stain was still somewhat fresh. And it worked like a charm, peeled right up when I was done no ripping up the finish. Make sure to get as close as you can to the spindle.
Now, you can start the fun part. Bring on the paint! Usually I wouldn’t recommend using a sponge brush for chalk paint, but in this case it was perfect. Sometimes a bristle brush can lead to splatters which was not the look I was going for. Get your coat on thick, chalk paint works best in thick coats…but not so thick that it looks globby (yep, that’s a word) or is dripping because that is a hot mess.
 After allowing it to dry, every brand is different I think Martha Stewart chalk paint said at least two hours, get your sanding sponge again. This time I would use a medium grit and sand any areas you painted. Lightly go over the entire piece, then come back and wear down certain areas even more. The first sanding is always going to be more distressed look than what you want for your finished look because we want those areas to peek through our next coat. Gives a more realistic wear, not so one dimensional.
Clean up your mess a bit with a rag and tac cloth then you can start painting again. The second coat I like to do lighter than the first, more of a dry brush type. Since the layer is thin it will dry rather quickly. Now, time to go get that sponge.
 “Wear” your piece again. Be mindful of your sanding especially in the last sanding. I like to sand lightly over the entire piece as this gives it a silky smooth finish, but I only sand down areas I think that would be worn naturally. So higher areas and edges are pretty much what I stick to.
After the final sanding make sure to clean the piece up, remove any dust so it doesn’t get in your sealer. Since our project uses a bright white I used a polycrylic sealer. Polycrylic won’t yellow overtime, but any urethane bases will yellow your piece. So always think about what you want your desired finish to be and choose a sealer or finish coat that is best suited for it.
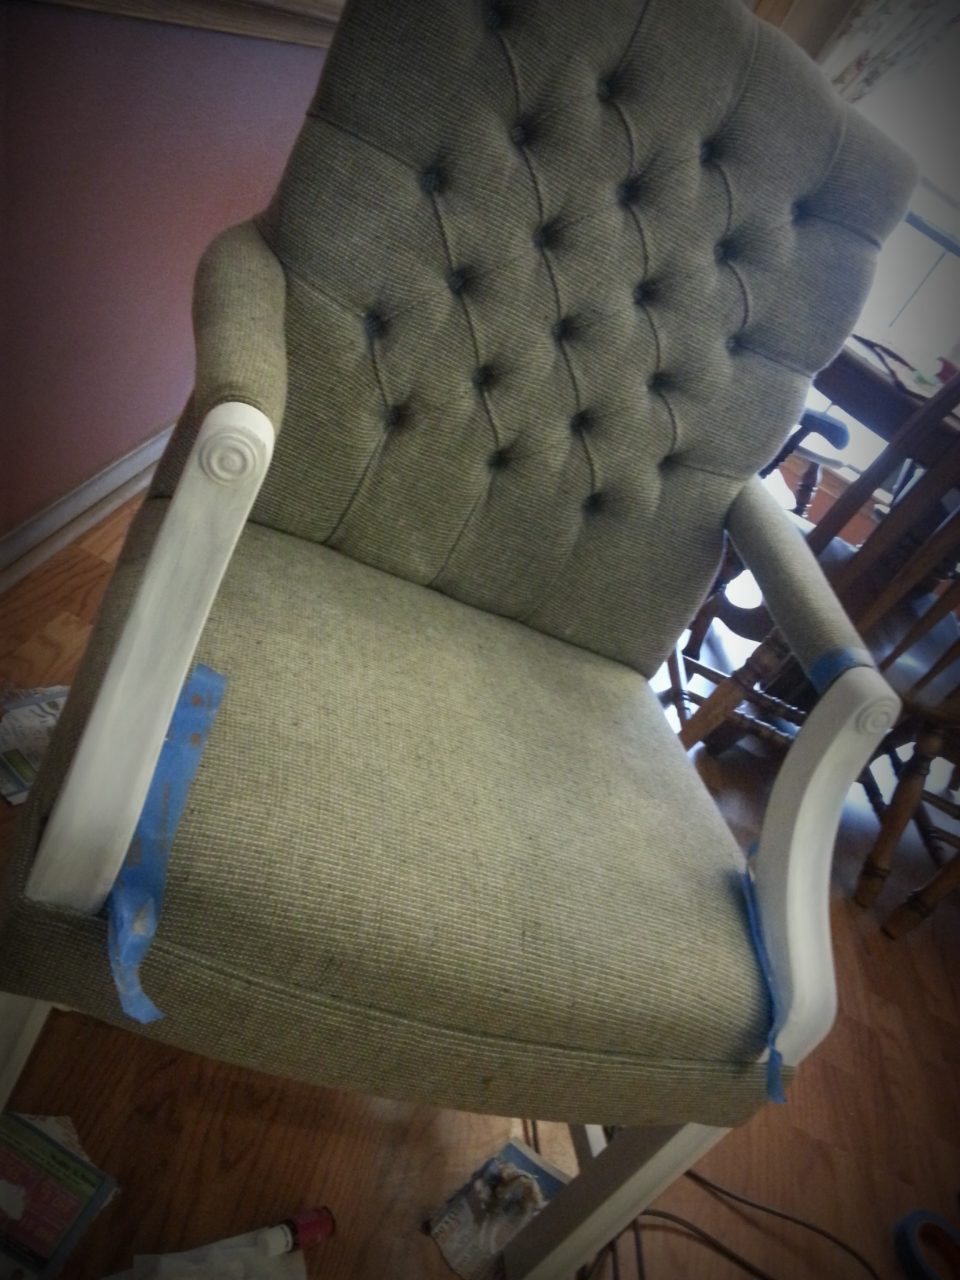
I also scored these great vintage office chairs from Craigslist as head chairs for our table. Granted they were a bit dingy and dark but nothing a deep cleaning and some chalk paint couldn’t fix.

I used the finished product in our staging on #20 Lone Star Parkway. This table was fun, time consuming (like seriously folks probably 2 hours per chair…the chairs were the hardest of the entire thing), but still fun. I love seeing a piece transformed, especially one that was in great shape and will last for many years to come. We added some chic to our shabby table and now she is perfection!
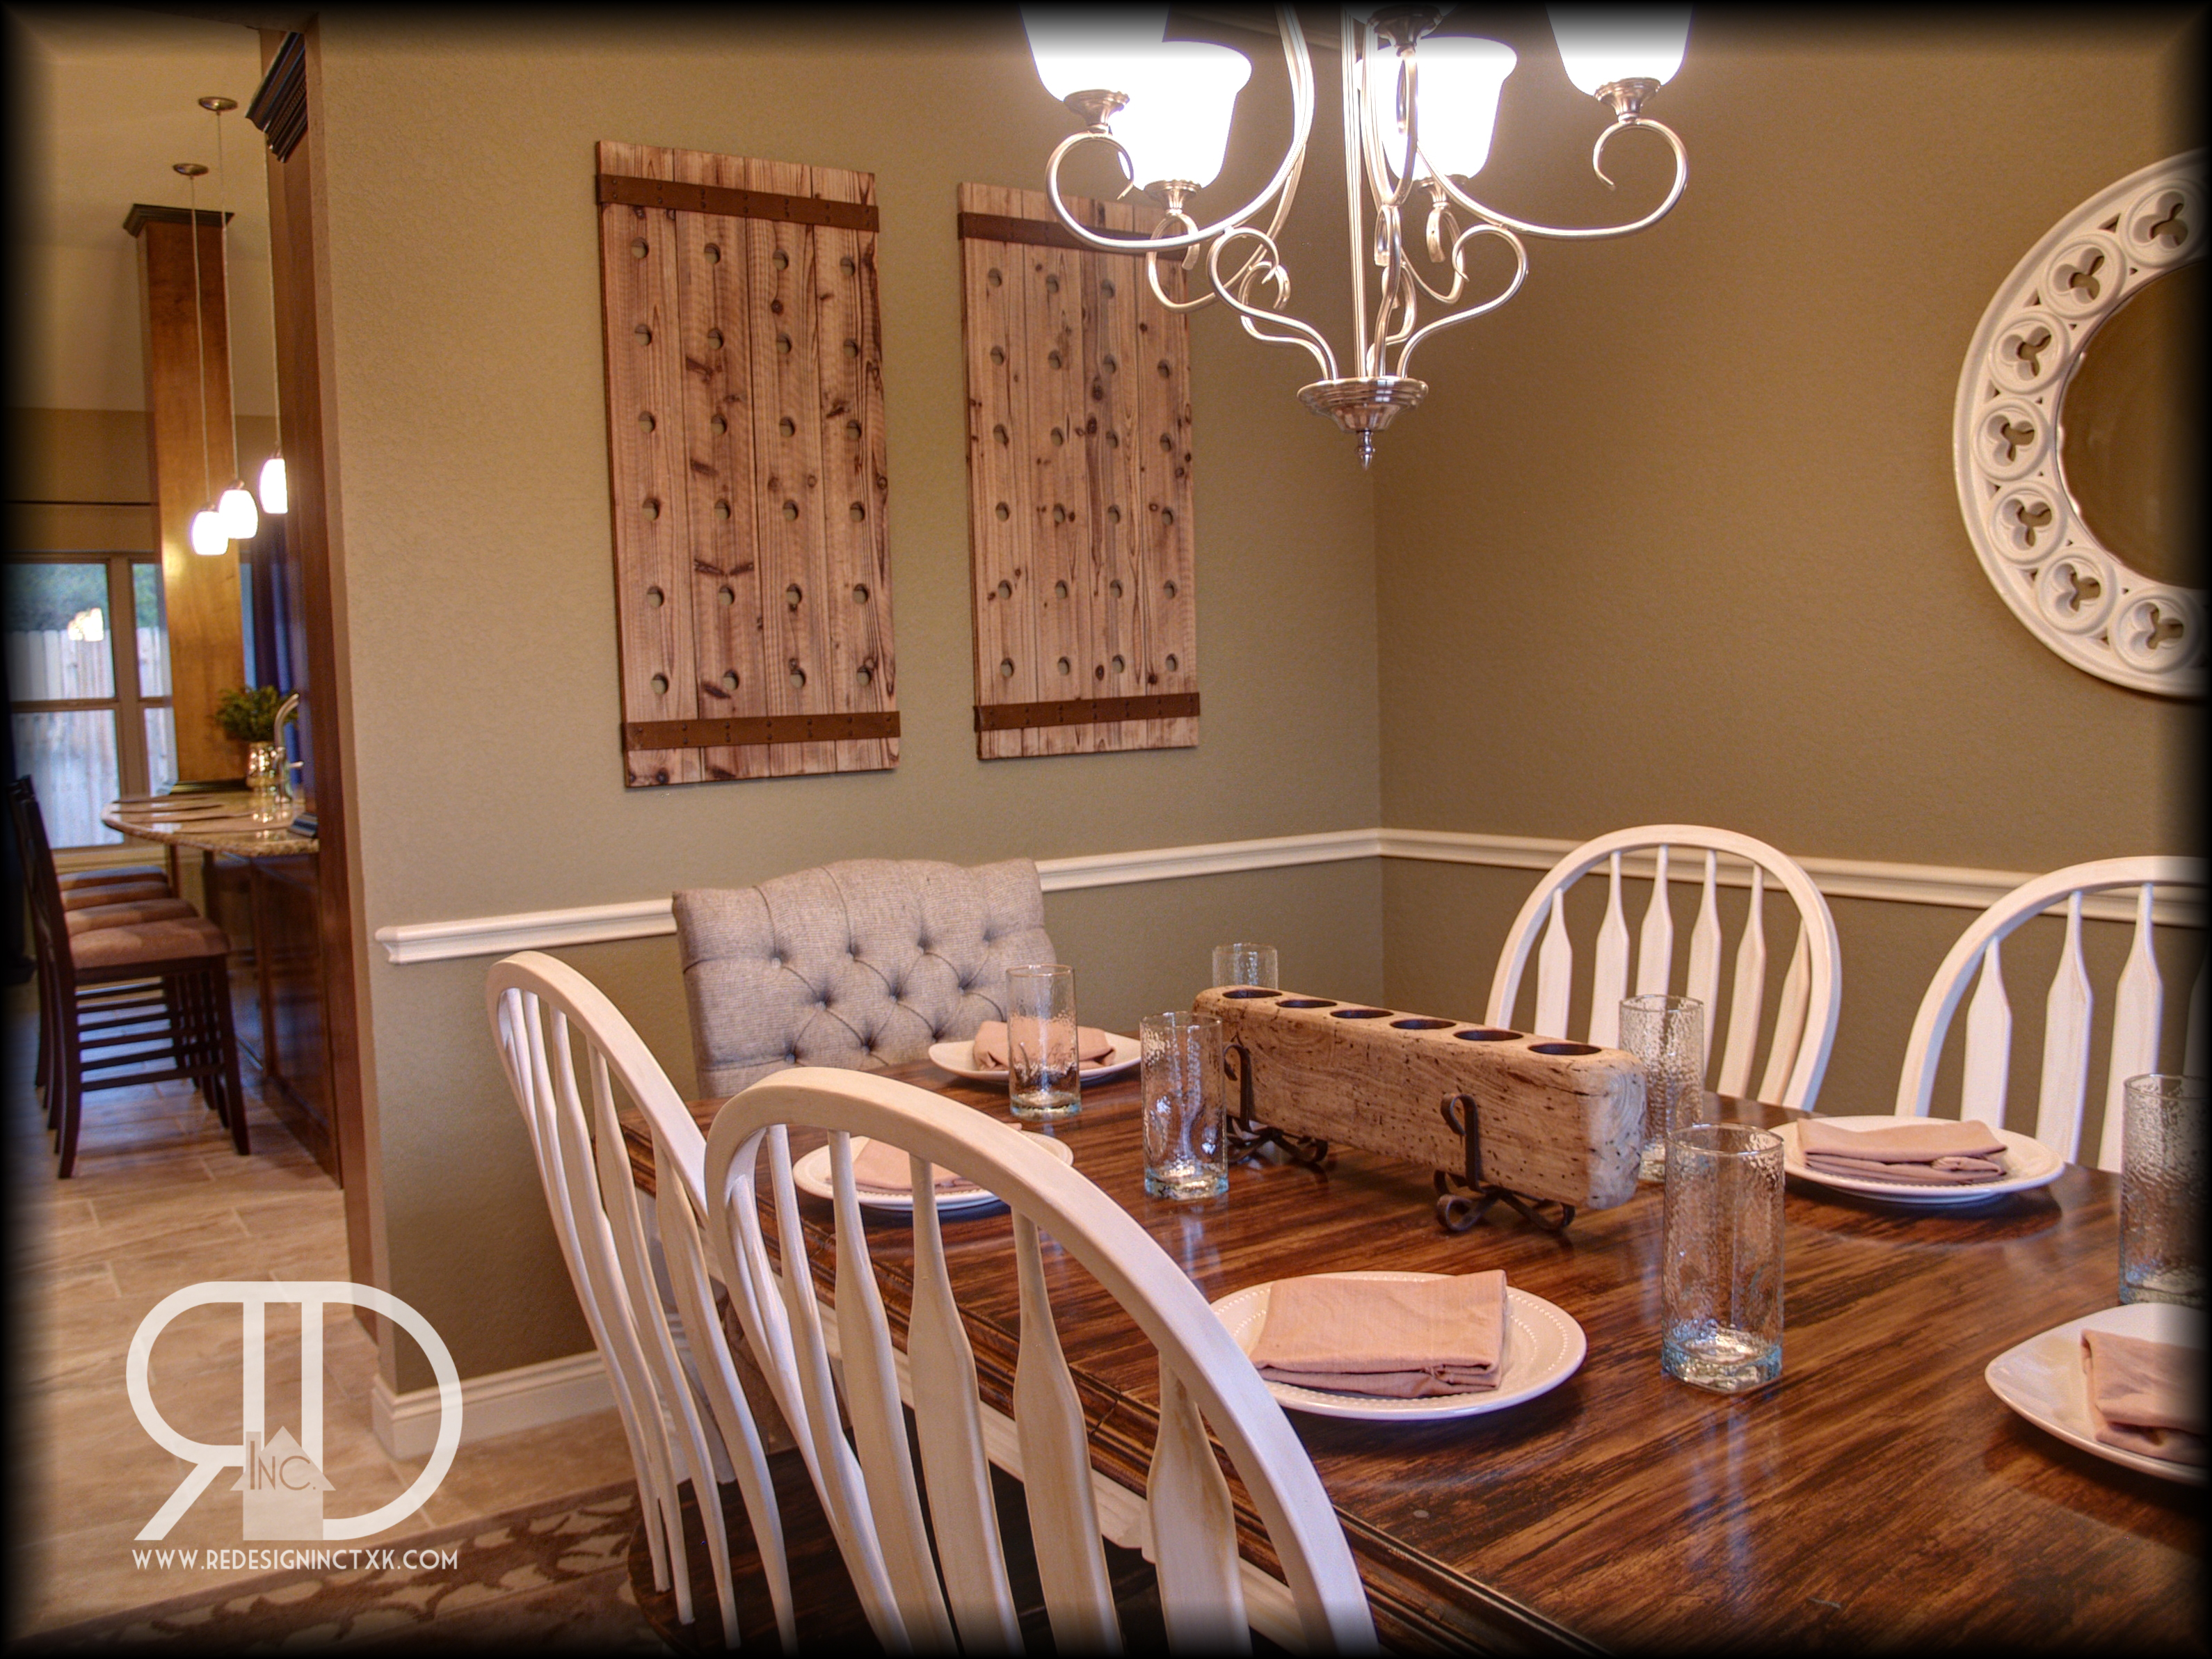
Now, I think I may just take a little break and enjoy some cake and coffee. Hope you enjoyed! Stay tuned for our next furniture reDesign!

“Therefore, if anyone is in Christ, he is a new creation. The old has gone, the new has come.” – 2 Corinthians 5:17

Are you putting sealer over the chalk paint? Do you do that with every piece or just kitchen stuff?